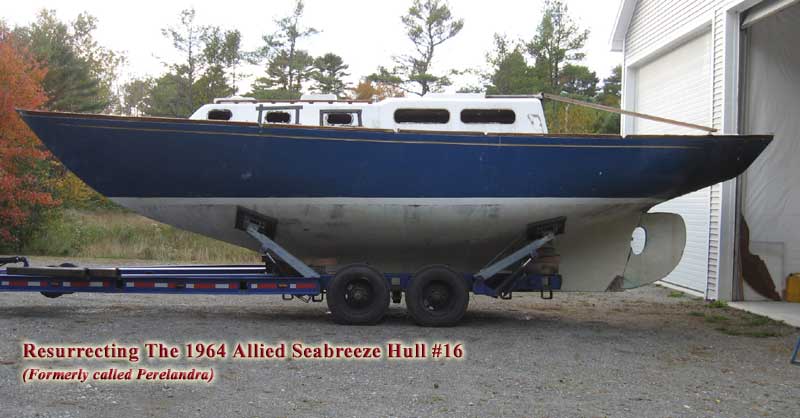
Project Log: Sunday,
November 1, 2009
Home Page >
The Project >
Project Logs > 11/1/09 |
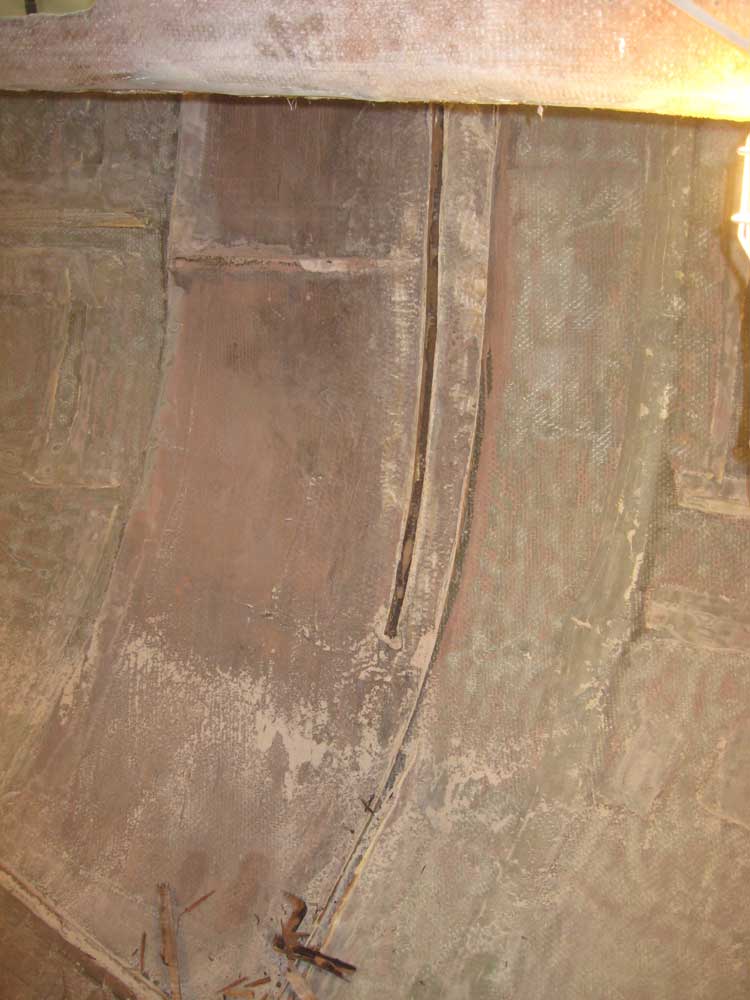
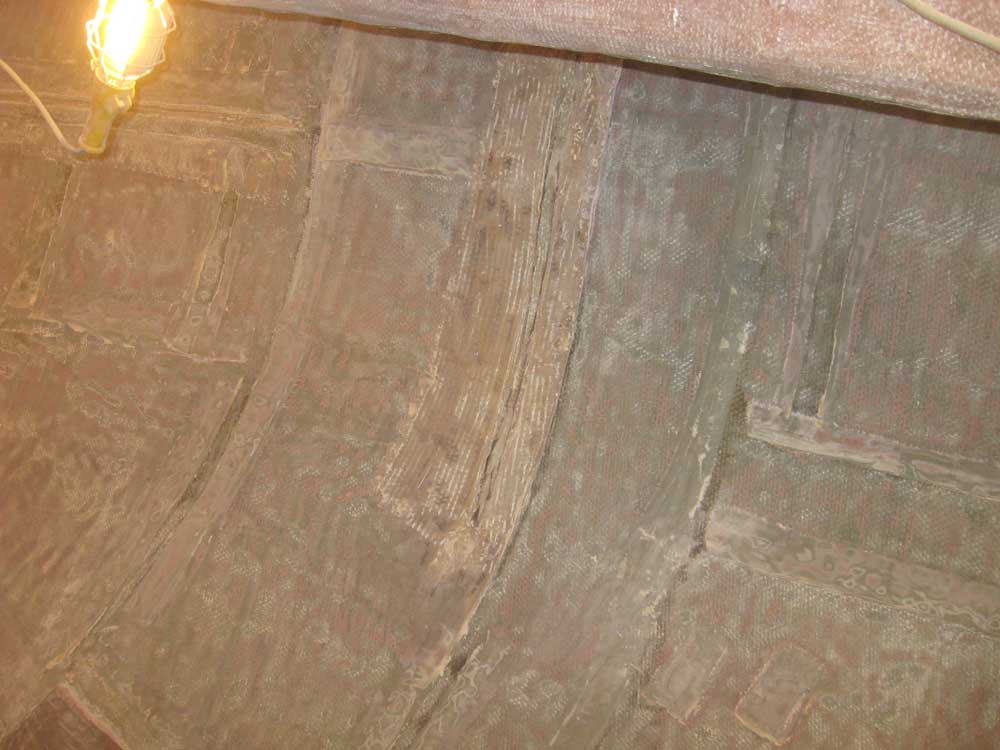
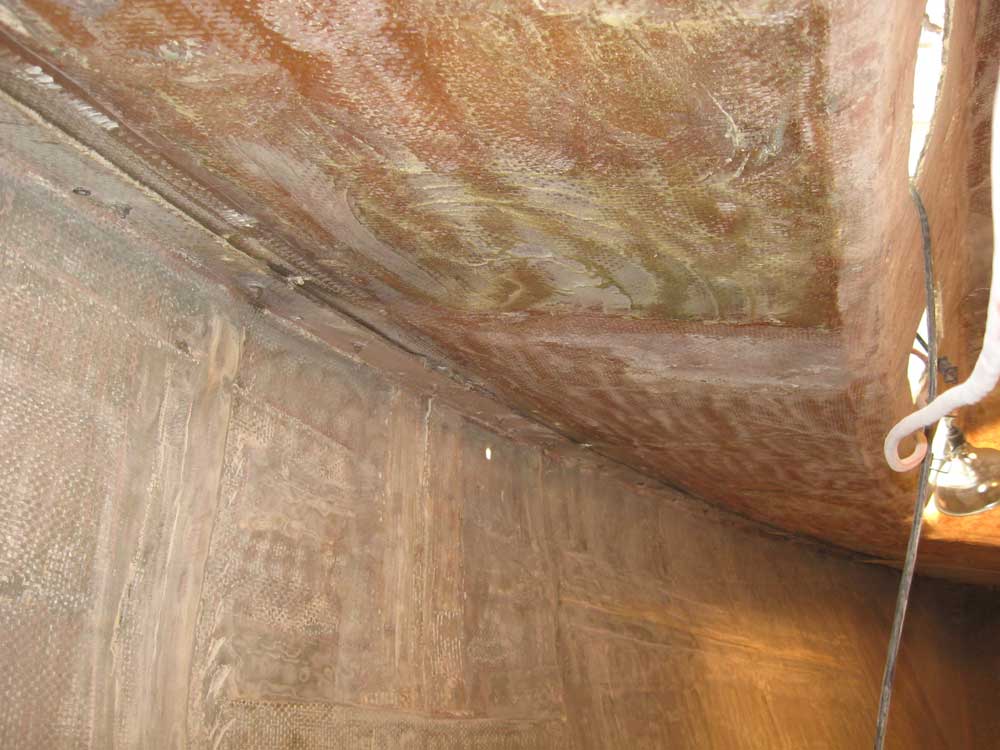
I continued where I left off
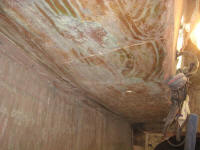
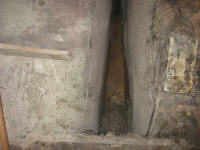
yesterday. Armed with a hammer and trashed boatwork
chisel, I pried the remaining plywood out of the tabbing
slots in the areas I left yesterday, and then sanded these
areas to remove cut tabbing edges, remove paint, and smooth
the surface. I heavily ground the thick tabbing that
had secured the main chainplates, but did not attempt to
remove it all. This tabbing's only saving grace was
its thickness; it represented some of the worst fiberglass
work I'd had the displeasure to see while dismantling
various boats. Obviously, it worked for many years,
and the tabbing was well-adhered to the hull, but it was not
good work.
|


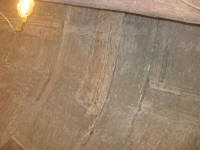 |
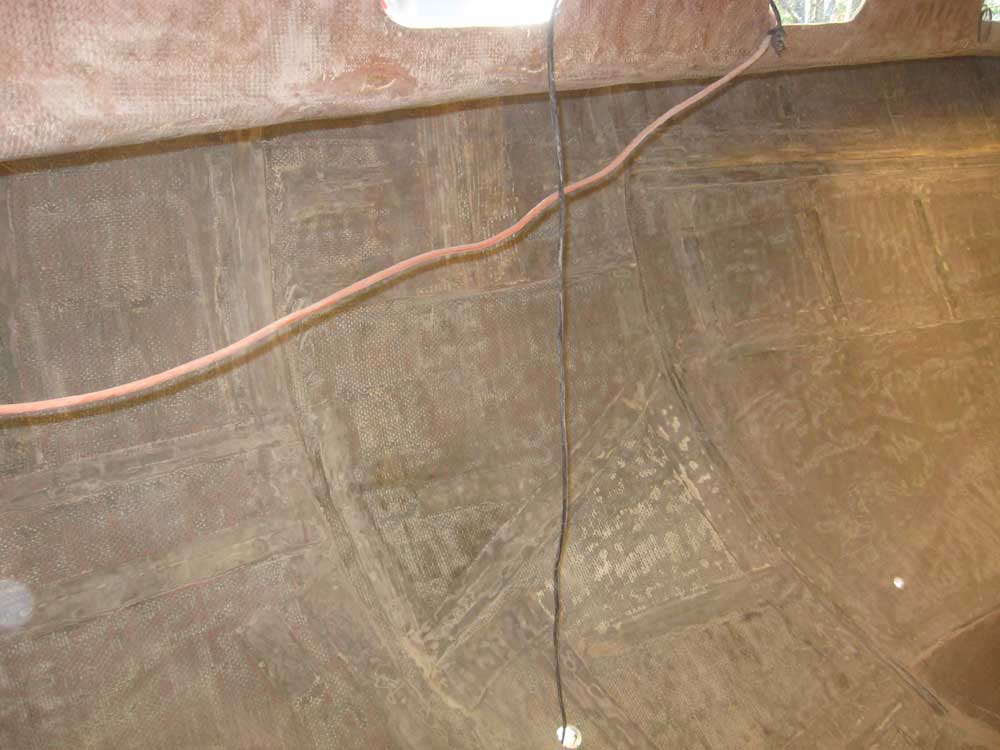
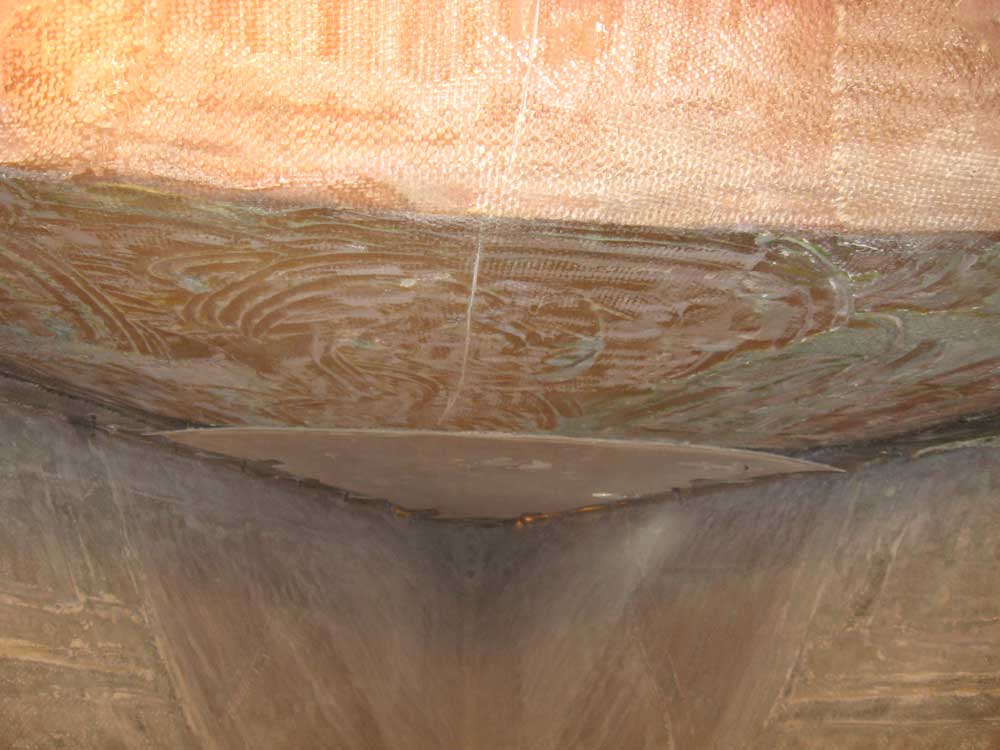
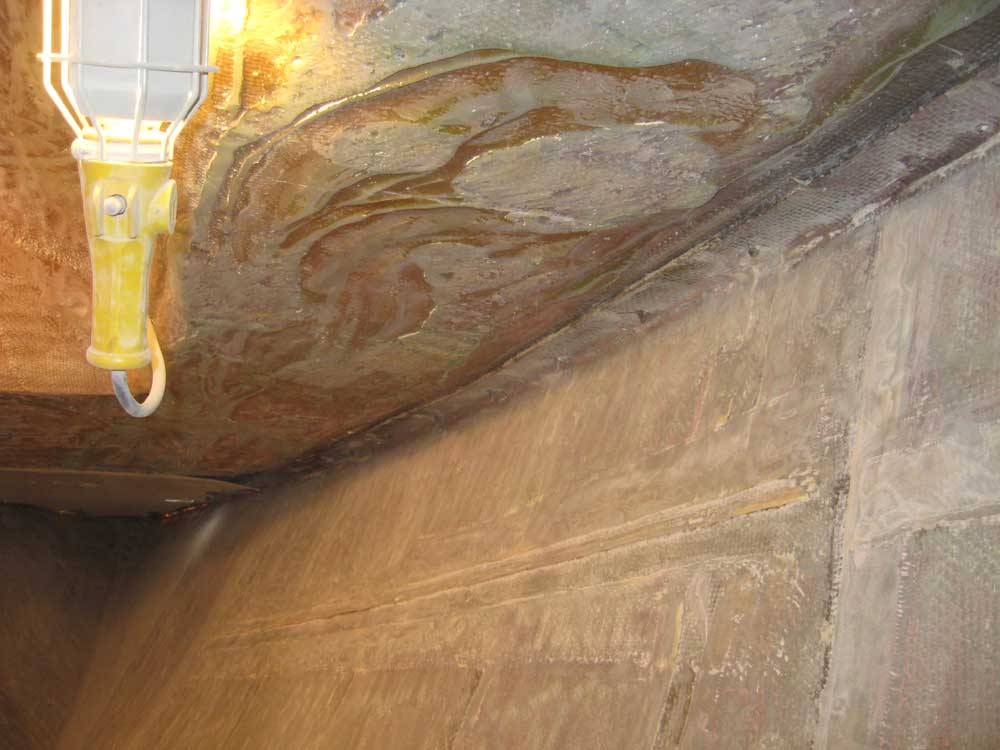
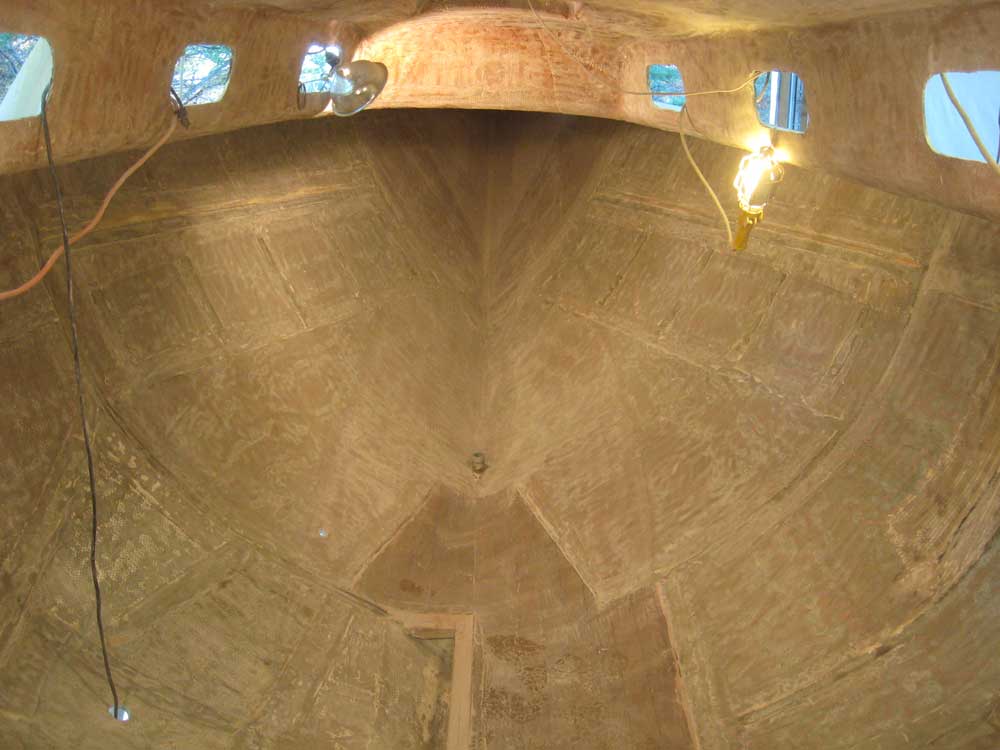
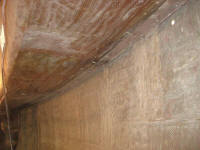
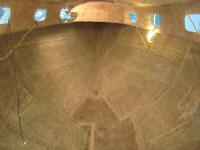
Next, I attacked the remaining areas beneath the
sidedecks and foredeck. Access was difficult, and in
these areas the resinous adhesive used to secure the liner
had actually contacted the liner, which squashed it wide and
flat and over broader areas than on the main cabin overhead.
As a result, I made no attempts to sand too much of it
off--that would have been a fool's exercise. Instead,
I concentrated on scuffing the entire surface, removing any
high spots, and doing what I could to smooth out other
areas. Additionally, I removed hanging threads of
fiberglass that had been left over from the liner's removal.
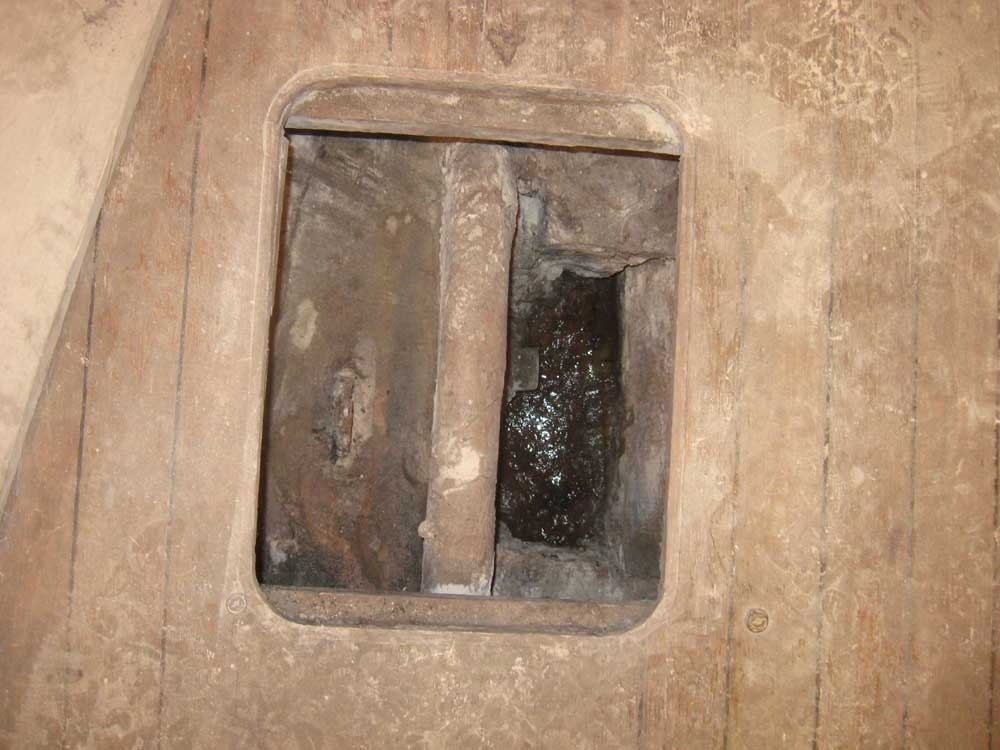
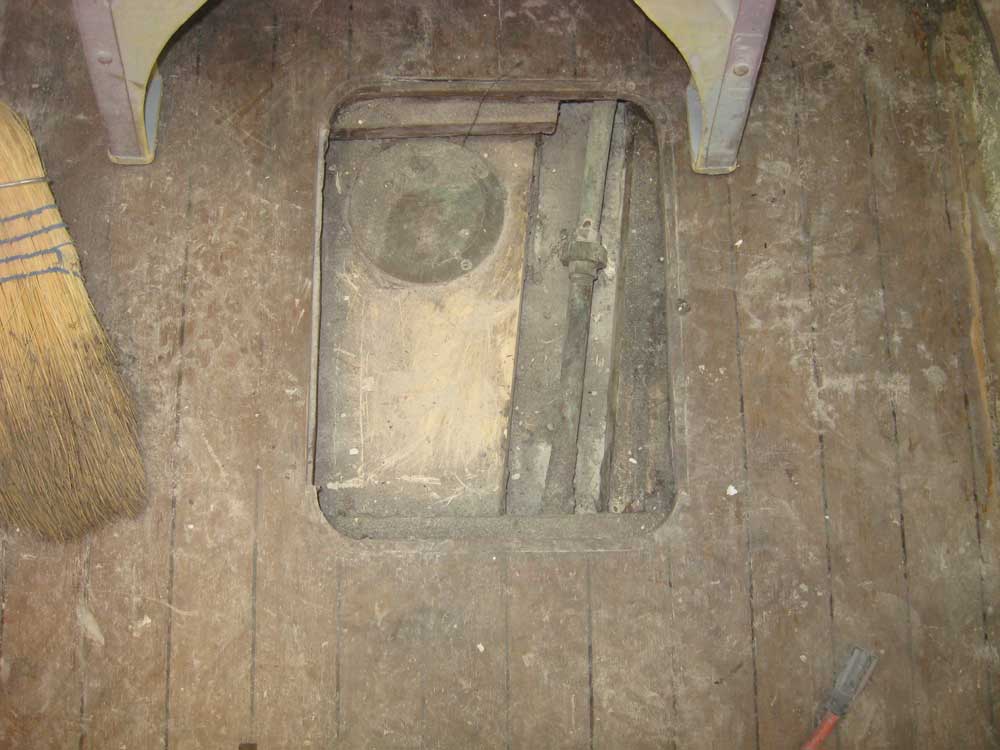
There was still one section of liner stuck to the deck
in the chainlocker, which I hadn't pulled down originally
because several fittings were bolted through it, but I
continued to ignore it for now, as I just didn't feel like
pulling it down now.
Afterwards, I cleaned up the
inside of the boat again; somehow, it seemed that there was
almost as much dust from today as from yesterday, though the
area ground today was much less. I pushed most of the
dust through the old through hull hole in the head and down
to the shop floor for later collection. I also cleaned
up the shop a bit; my plastic sheeting barrier really had
done very little to contain the dust, perhaps because I'd
been using a box fan in the forward hatch to pull the dust
out of the boat as I worked. In any event, the shop
was a mess, but it was a nice day out and I was able to drop
the plastic and open the big door to air things out while I
cleaned. |


 |
I should mention that for the grinding and other
work, I wore a full face supplied air respirator and ear
protection. The supplied air mask had served me well
and significantly during sanding and painting projects for 5
years, but was showing its age; additionally, I'd lost one
of the plugs over the inlet openings during the first day of
interior demolition, and while I'd managed to put together a
replacement from another mask I had on hand, my mask was
obsolete and I couldn't find a legitimate replacement plug.
For this and many other reasons, I ordered a new full face
respirator and supplied air conversion kit, as it was
clearly time. I couldn't imagine doing this work
without this excellent respirator, and I looked forward to
using the newer, safer one when it arrived.
There was
plenty of grinding ahead--in the aft quarters of the boat,
where the fire damage was worst--but I left that for now,
partly because I'd had enough grinding, partly because I'd
used up my continually-refreshing supply of grinding discs,
and partly because the bilge was a mess and I wanted to
clean that up.
The main bilge sump had a garboard
drain installed, but it was mounted about 2" above the
absolute bottom of the bilge, so there was still water down
there. Additionally, the area was full of styrofoam
bits from the icebox, bits of tabbing and burned fiberglass,
and other detritus from the previous days' demolition
efforts.
Similarly, the smaller sump located by the
centerboard pin, and surrounding areas, were also filled
with junk, styrofoam, and some water. It was time to
get the stuff out so that I knew what I was dealing with.
Shop vacuums work best on the shop floor, where one can
avoid the need to lug the awkward thing up and down a
ladder--particularly if using it to suck water out of the
bilge. Also, these tools prefer not to suction water
up much of a head, so it helps if the container is lower
than the area being drained. To this end, I was
prepared to enlarge one of the existing through hull holes
to allow passage of the vacuum hose, but found that the hose
was a perfect fit through one of the openings (the old depth
transducer), so I didn't have to enlarge the hole.
I
picked out the heaviest pieces by hand, and used the vacuum
for the rest, stopping frequently to unclog the hose from
its plug of styrofoam mash mixed with water and fiberglass
sludge. Water kept seeping into the small sump by the
centerboard pin, probably from the hidden forward sections
of the bilge, so eventually I left that alone to let the
water collect. |

 |
To help current and future drainage from the main
sump, I drilled a 1/2" hole through the corner of the keel,
just below the existing garboard drain and at an upward
angle so it'd end up right at the bottom of the bilge.
This additional drain hole, which I'd patch later, would
allow the bilge to completely drain, and enable future
washdowns without the need for pumping or vacuuming the
bilge out. Eventually, the bilge was clean
(relatively) and dry, which was nice. Later, I'd cut
away more of the cabin sole to access the bilge better for
sanding and cleaning, and to remove an existing built-in
tank.
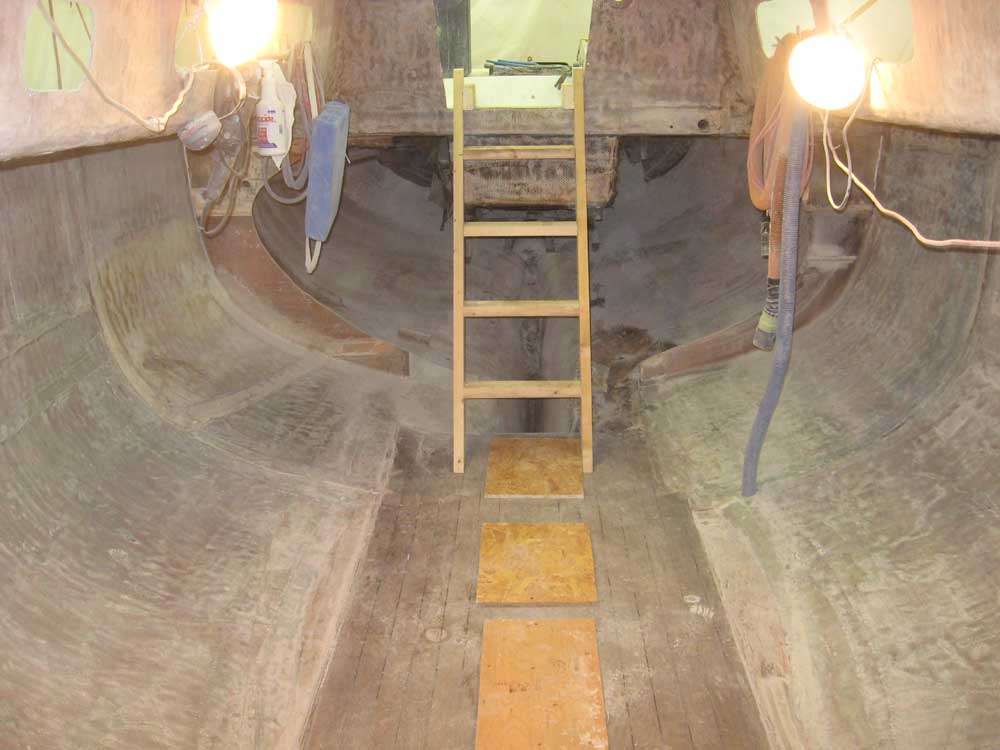
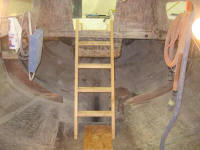
After cleaning up yet again, I wrapped up the
day's work by building a construction companionway ladder
from 2x4 lumber. I designed the ladder so that it
would wrap over the companionway sill, which held it in
place securely but also made it easy to remove, as I'd need
to frequently remove it for access to areas beyond
throughout the project. This was much better than the
temporary stepladder I'd been using for the past few weeks,
and would remain in place for the duration of the project,
until such time as I built the "real" companionway ladder.
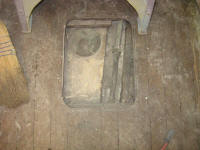
I also cut three scraps of plywood to cover the bilge
openings in the cabin sole. I'd thrown away the
original hatches 5 years ago, but was tired of worrying
about the openings, or using ill-fitting scraps to cover. |
 |
Total Time Today: 5.5 hours |
Previous |
Next |
|
|