Project Log: Saturday,
October 24, 2009
Home Page >
The Project >
Project Logs > 10/24/09 |
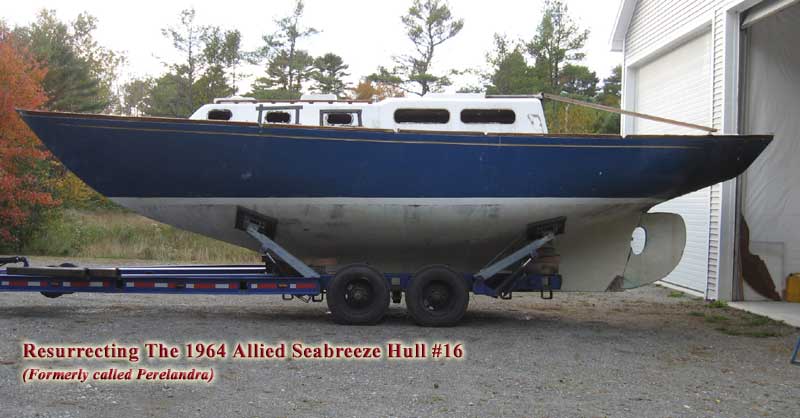
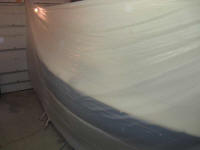
With the prospect of lots of
grinding in the weeks head, coupled with a shop door that
would need to stay closed as fall progressed and winter took
hold, I spent 45 minutes rigging up some plastic sheeting to
separate the boat from the remainder of the shop bay.
The problem on this side of the shop was that I had to use
it for storage of certain items, and it also contained a
staircase, oil tank, and other obstructions. Because
of numerous things in the way, I preferred to try and
contain the sanding dust as much as possible to ease
cleanup, particularly when I knew that there was so much
bulk grinding ahead.
To that end, I managed to get a
line over the center section of the garage door's torsion
bar assembly, and rigged a second line through the back wall
of the shop near the top. Then, I laid out plastic
sheeting, tied knots in the top corners around the lines,
and hoisted it into place. This would help minimize
dust transfer, though of course it wouldn't eliminate it
entirely.
|
 |
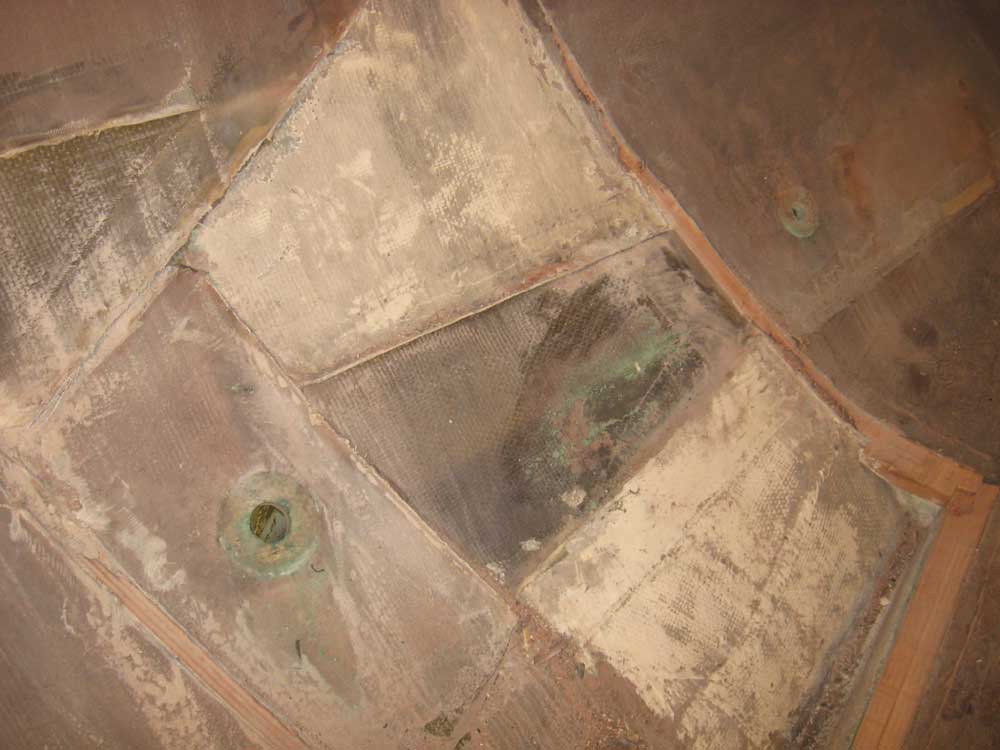
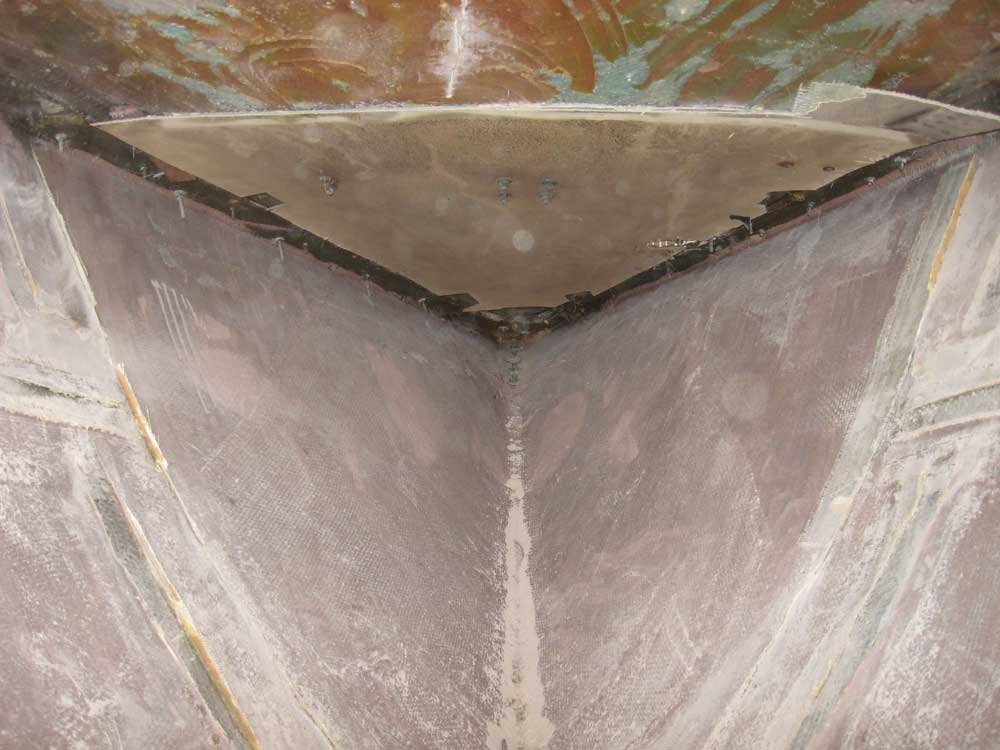
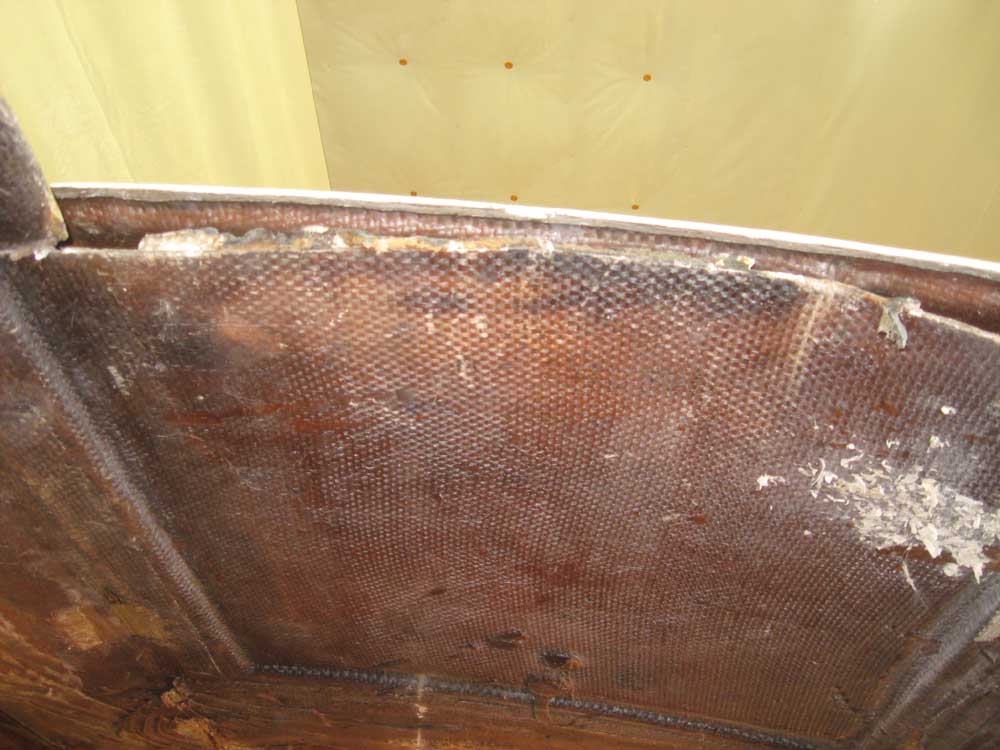
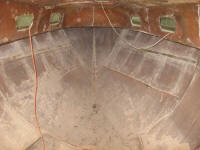
Next, I removed all the through hulls, at least
those in the forward two-thirds of the boat (there were
several in the lazarette/counter that I'd get to later, when
I started work in those areas). In particular, I wanted to
remove the head discharge and intakes, which had large
seacocks that were now awkwardly protruding into the bare
interior. These old-style Wilcox-Crittenden valves
were still in good condition and operated smoothly, and I
hoped to save them. |
 |
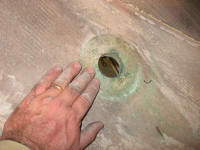
I didn't plan to reuse any through hull fittings, so
rather than fool around and waste time with traditional
means of removal, fighting stubborn sealant, threads, and so
forth, I have found over the years that it pays to simply
grind off the mushroom heads of the fittings, which allows
the remainder of the fitting to be easily pulled out from
inside the boat. Armed with a grinder and metal
grinding wheel, I removed the five bronze through hulls
(head intake and discharge; engine intake; two cockpit
scuppers) in about 10 minutes' time, and then easily pulled
the remaining fittings and the two valves out from inside
the boat. I also removed two plastic transducer
fittings--a depth fitting and a knotmeter fitting.
The hull was approximately 1/2" thick as seen through the
various through hull openings. |

 |
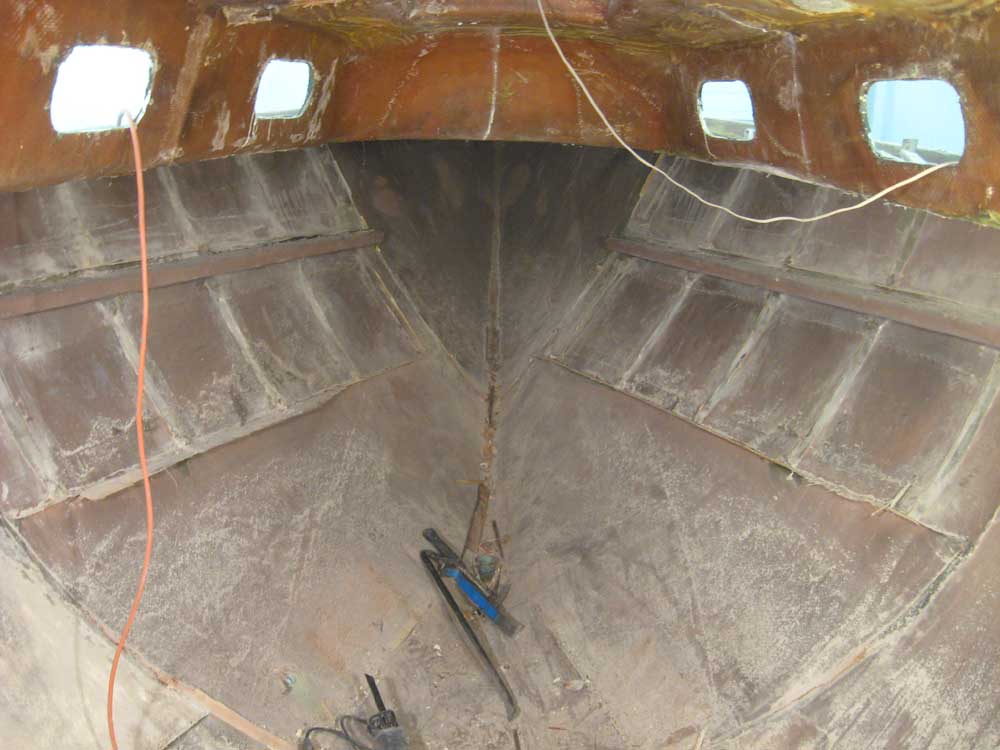
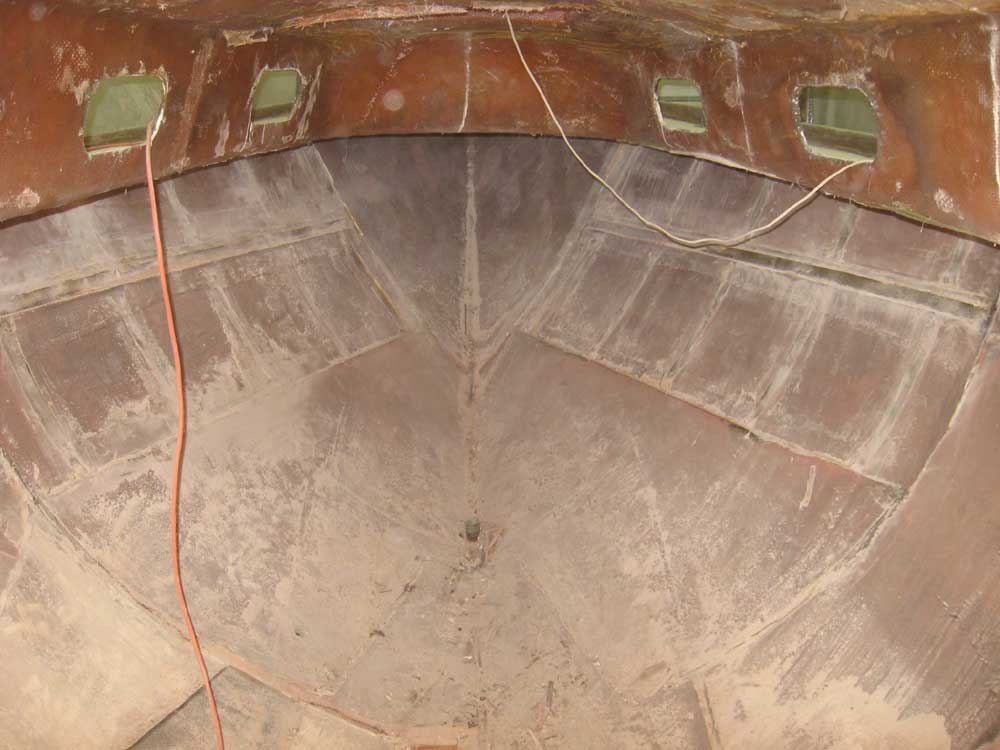
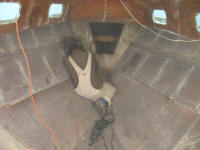
| My friend John, apparently anxious once more to burn off
more steam from his office-based work by destroying my boat,
arrived again in late morning, and presently I set him to
work in the forward part of the boat, cutting tabbing in
order to remove the remaining bits of structure there:
two shelves, shelf supports/stringers, ceiling screw strips,
and the chainlocker bulkhead. Meanwhile I did some
grinding in the main cabin and cut additional tabbing in
that area to remove ceiling screw strips and other remaining
bits of tabbing, in between helping to muscle the very
sturdily-installed shelves and such out of the forward
cabin. |

 |
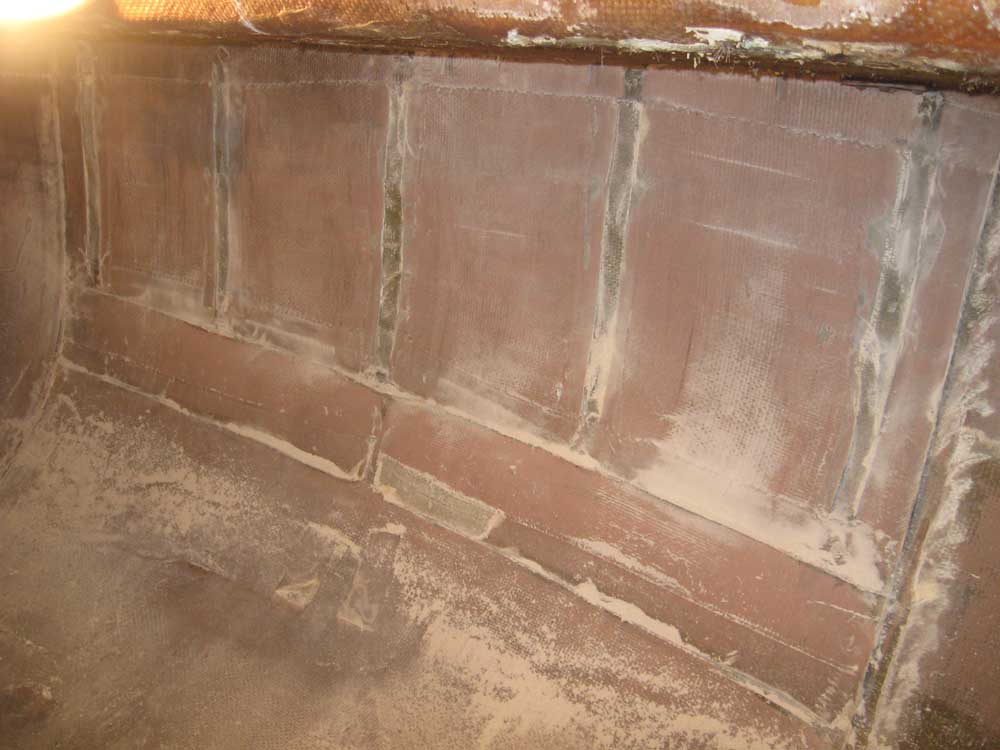
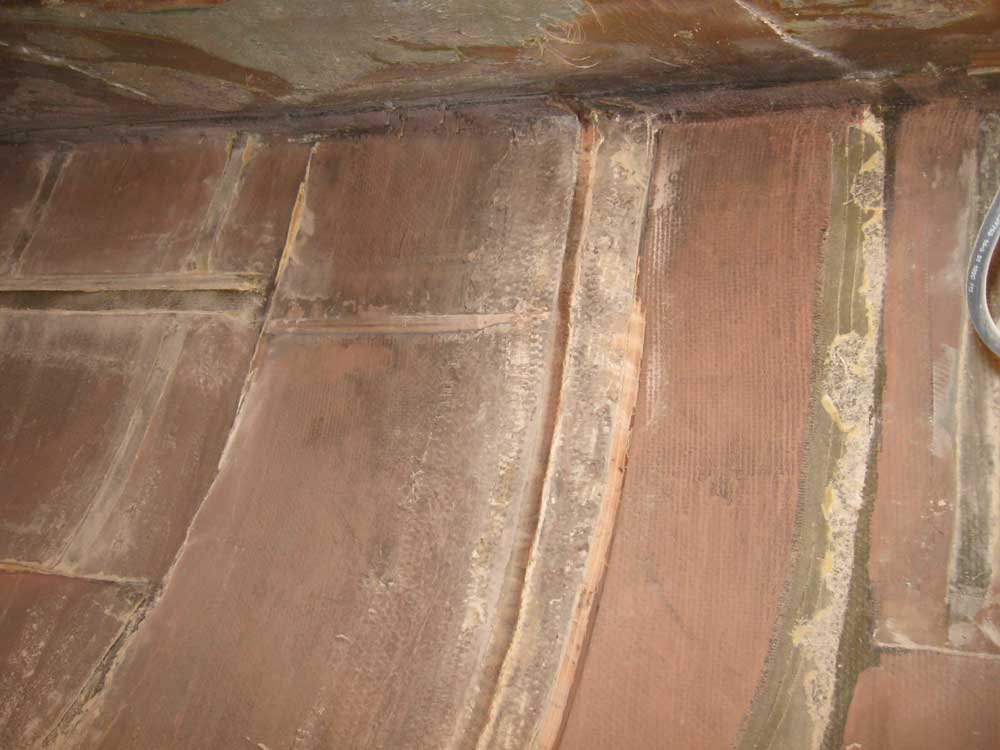
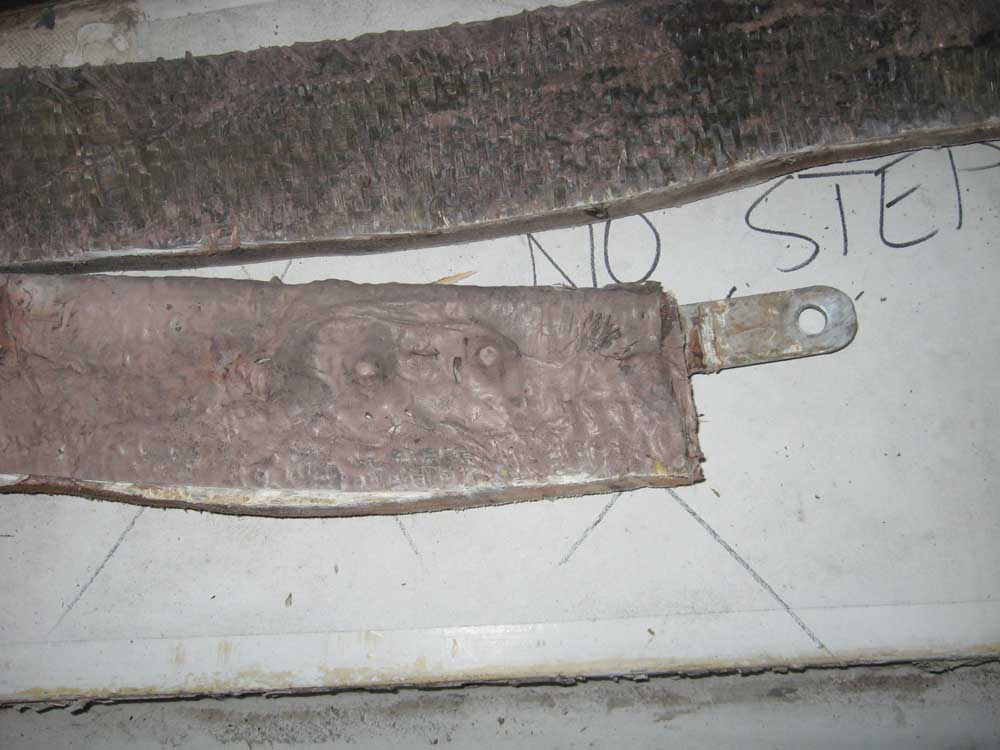
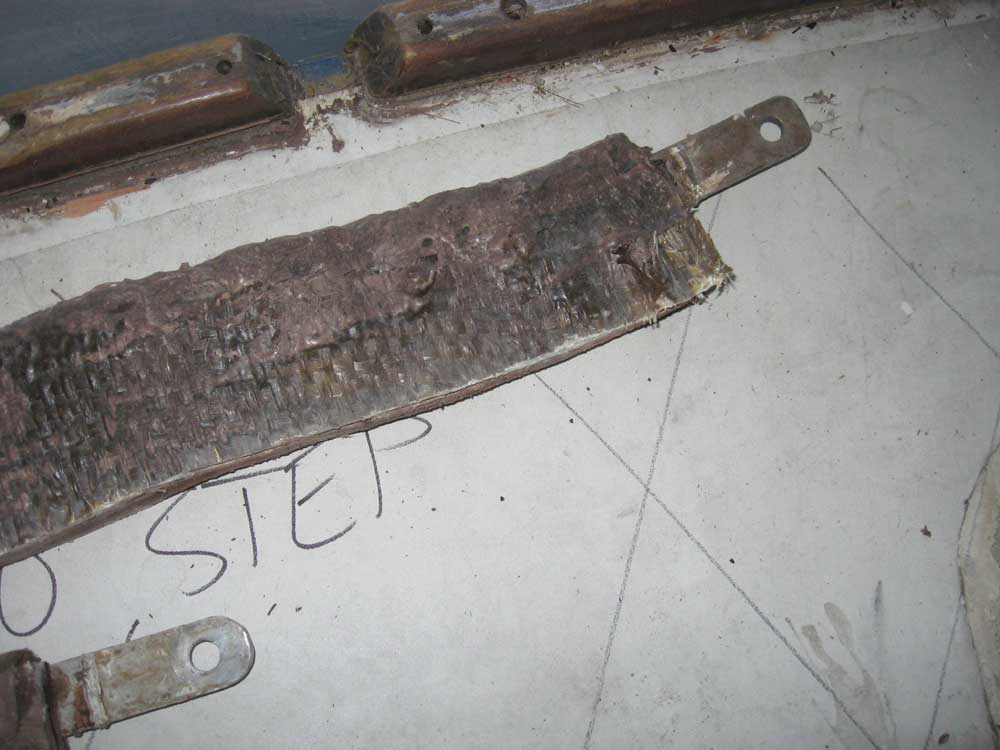
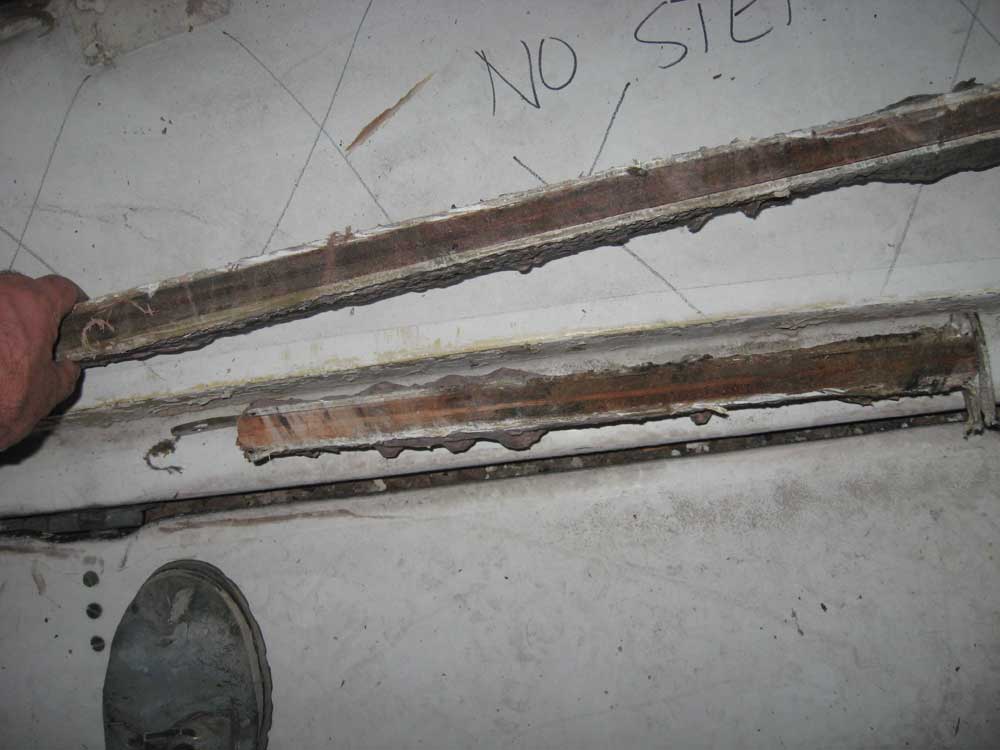
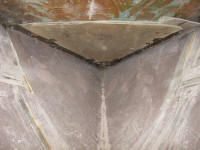
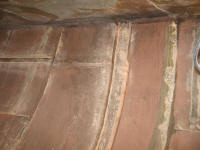
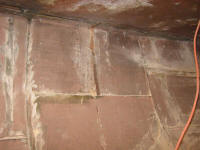
After a break to let the dust clear, we went back at
it to remove the main chainplate knees. These minimal
plywood knees were tabbed to the hull in an atrociously ugly
manner, including fiberglass applied over the stainless
steel chainplates and bolts themselves. The tabbing
cut easily, and I finished up the cuts with a reciprocating
saw and carbide blade to cut through the remaining plywood
of the knees. The plywood on both sides was damp, but
still sound.
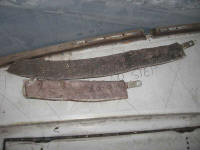
Later, I planned to extricate the
stainless chainplates for inspection to see how they did
after 45 years encapsulated in fiberglass, but for now I
just set the assemblies aside. |
 |
We briefly discussed the cabin sole, but I decided
to leave it in place, at least for the moment.
Obviously the finished surface of the sole would be rebuilt
and reconfigured in the future, but if the substrate was
sound, there might be no need to remove it at all; more
importantly, however, I wanted to retain the flat surface
for as long as possible to make working in the interior
easier and more convenient.
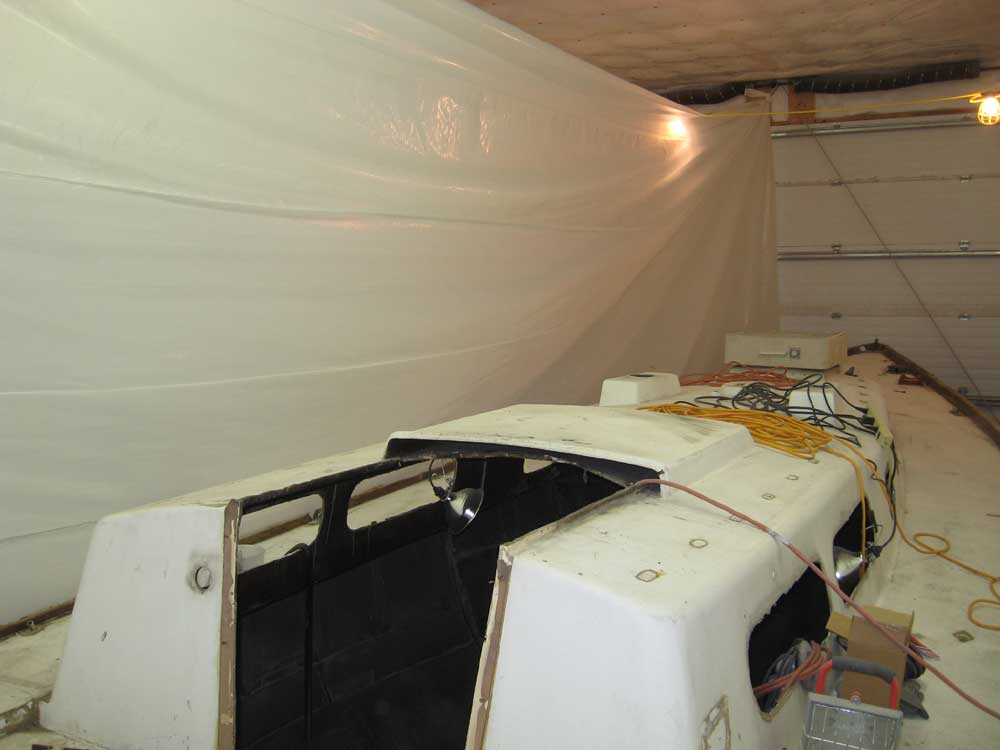
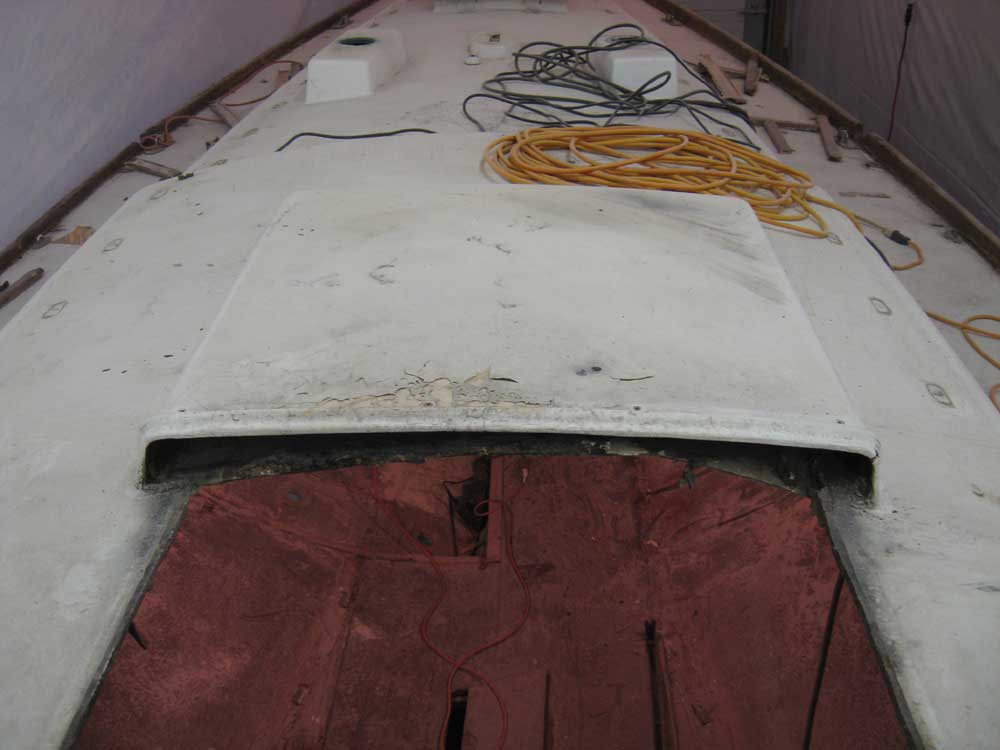
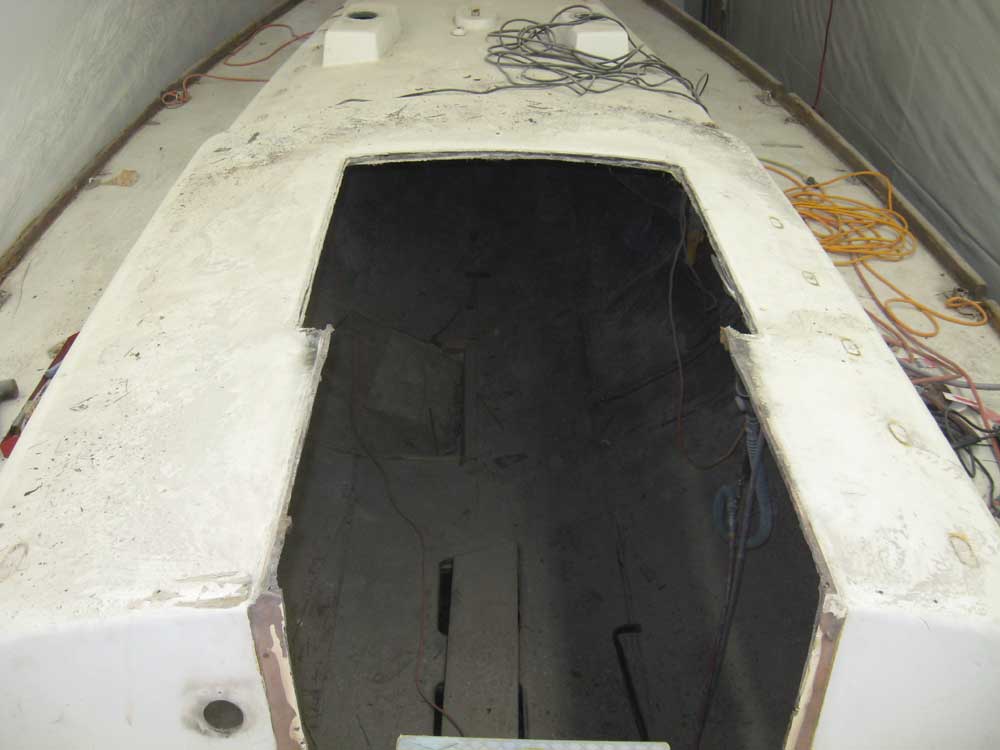
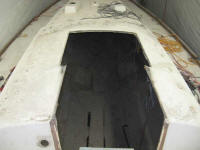
Next on the demolition
list was the old molded seahood, and particularly the odd,
flimsy, add-on fiberglass piece beneath it. The fire
had damaged both pieces, particularly the lower cover piece,
and I decided it should all go away; additionally, I wasn't
sure how I'd go about building and installing a companionway
hatch with the lack of access afforded by the permanent sea
hood, and didn't wish to be bound artificially by existing
installations as I reconceived the boat. So John went
to work with the grinder and removed both pieces; I finished
up the cut with the reciprocating saw. |

 |
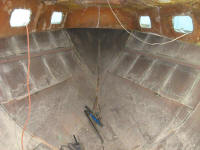
At this point, the major demolition was complete.
Ahead lay the removal of remaining deck hardware and toerail
(now with easy access to all fasteners from below), and then
the significant chore of grinding clean the entire interior
and overhead. We went to a late lunch, and I left the
boat a mess since I knew I'd be doing more work on the
'morrow. |
| |
Total Time Today: 8.5 man-hours (5 hours Tim; 3.5
hours John) |
Previous |
Next |
|
|