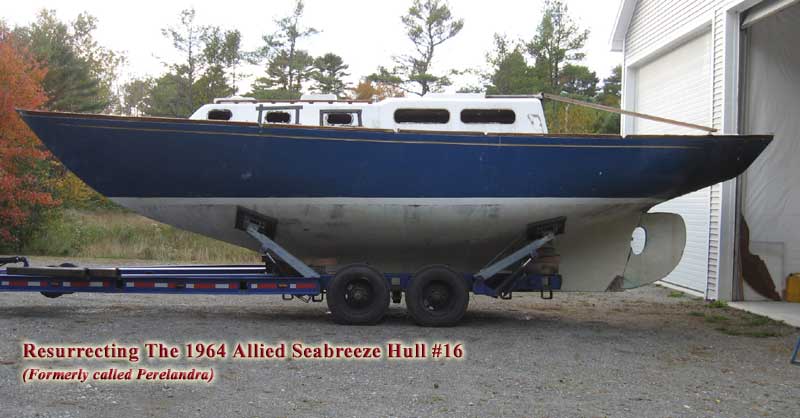
Project Log: Saturday,
October 17, 2009
Home Page >
The Project >
Project Logs > 10/17/09 |
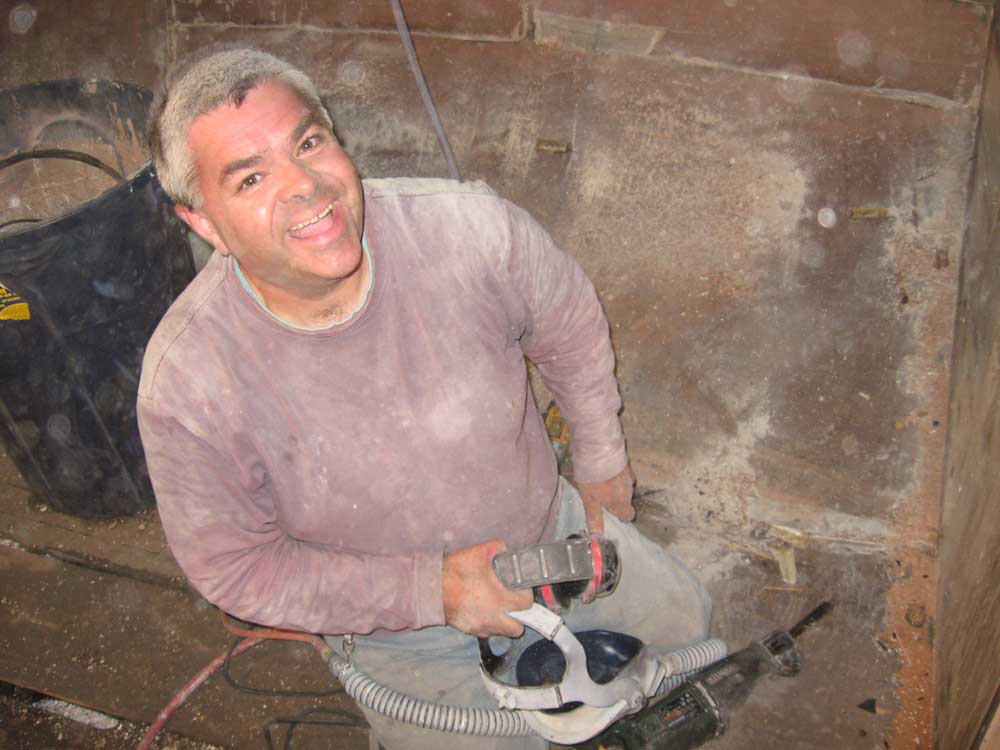
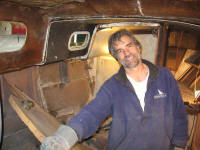
It was exciting to actually start
work on the boat. I'd looked forward to it all week.
I spent the first part of the day collecting various tools
and gear I thought I'd need for the interior removal:
angle grinder with cutoff wheels; reciprocating saws and
blades; impact driver and various hand tools; safety
equipment; prybars and hammers. Earlier in the week,
I'd set up some cords and work lights inside; the
"beginning" had been 5 years in the making, so I guess I was
ready.
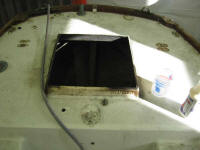
I was already sick of the fiberglass forward
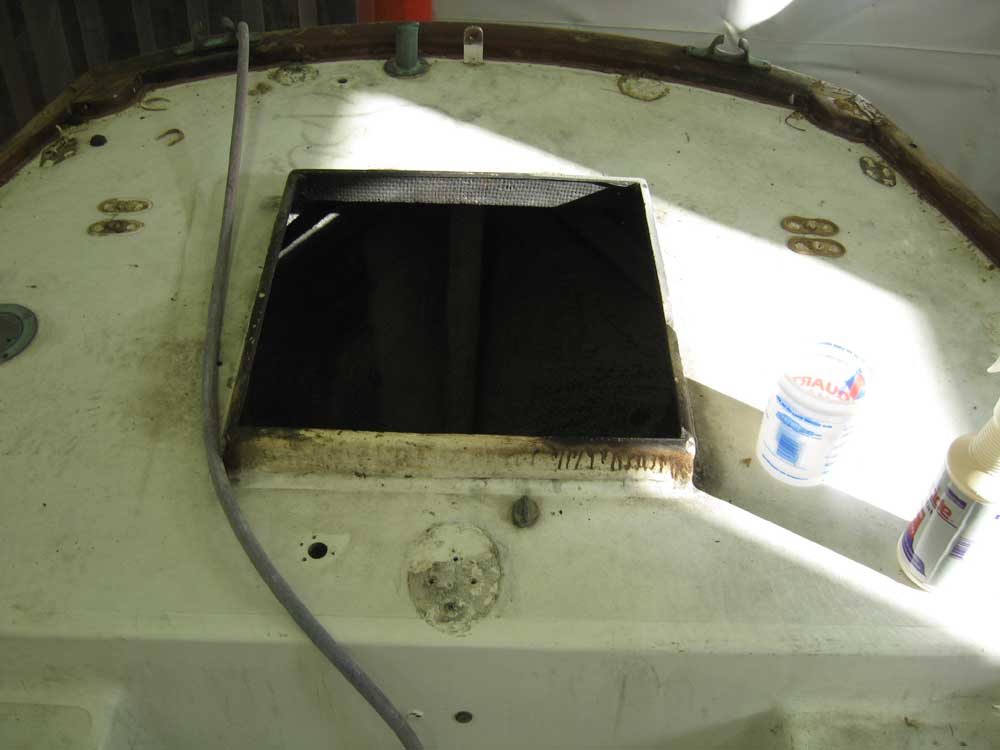
hatch and lazarette hatch, so the first thing I did was
remove these; this was easy, as the hinges were secured to
the deck with only self-tapping screws. Then, I
removed the companionway slide and the copper or bronze
tubes on which it slid, and set these three hatches aside.
I didn't anticipate reusing any of them, but for the moment
they went to what was to become a startlingly small "save"
pile. |
 |
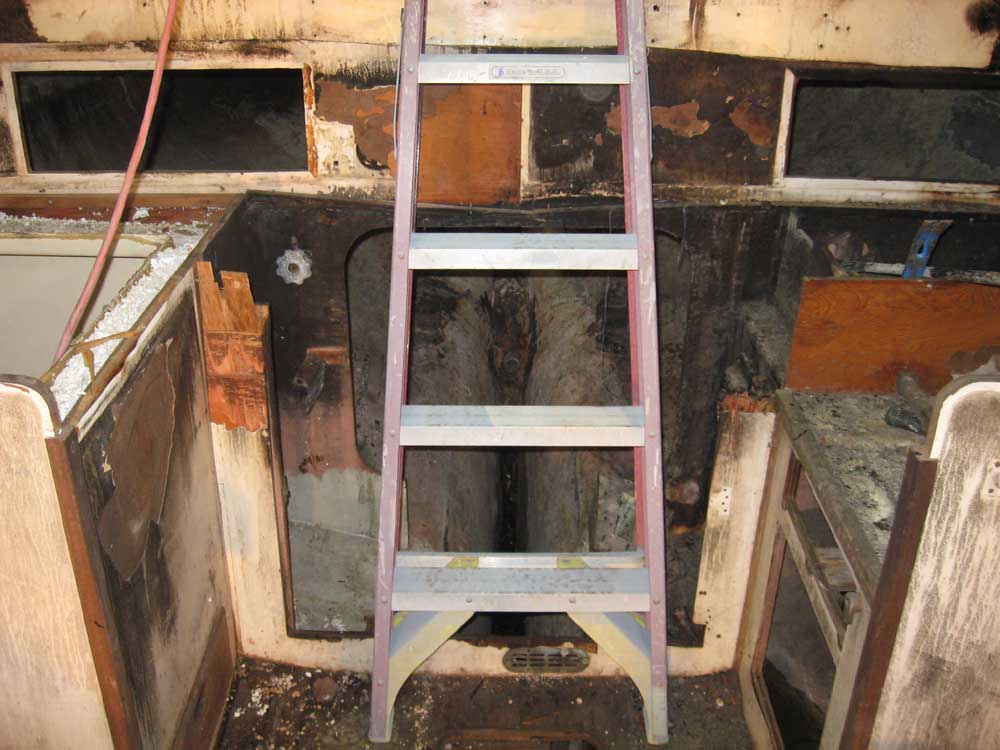
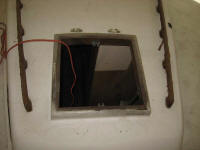
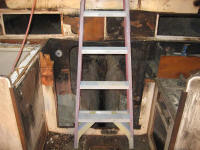
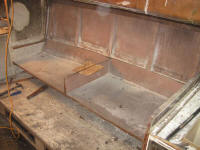
Onwards. The next thing I did was to remove
the remaining countertop inside the companionway, the one
containing the galley sink, and the old companionway ladder.
This structure was so weak that I didn't want to even have
the opportunity to step on it and kill myself on the way in
or out of the boat, which I'd been gingerly doing over the
years when I'd come into the boat for one reason or another.
Out it went with virtually zero effort; for the moment, I
installed a 6' stepladder in its stead, though soon I'd
build a construction ladder to use for the duration of the
project. |
 |
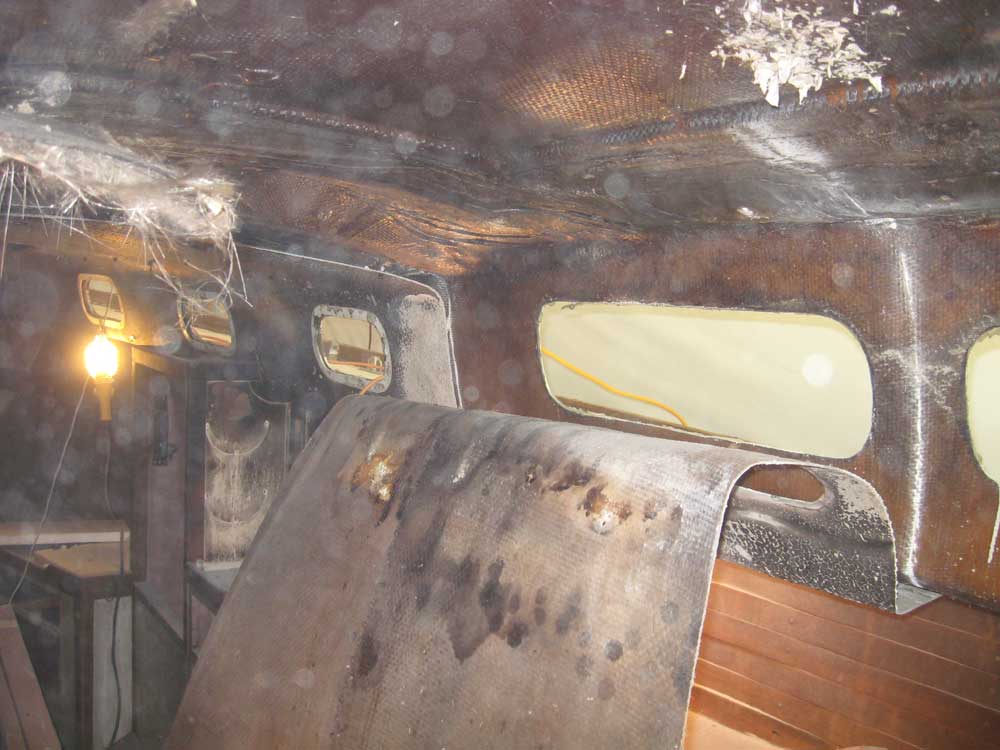
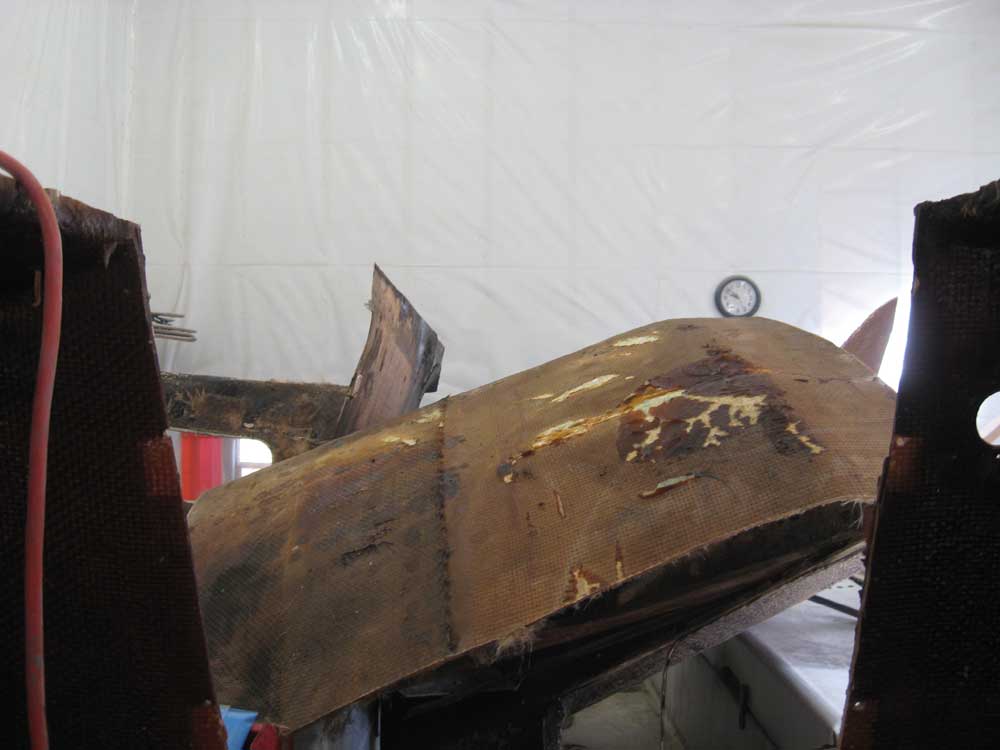
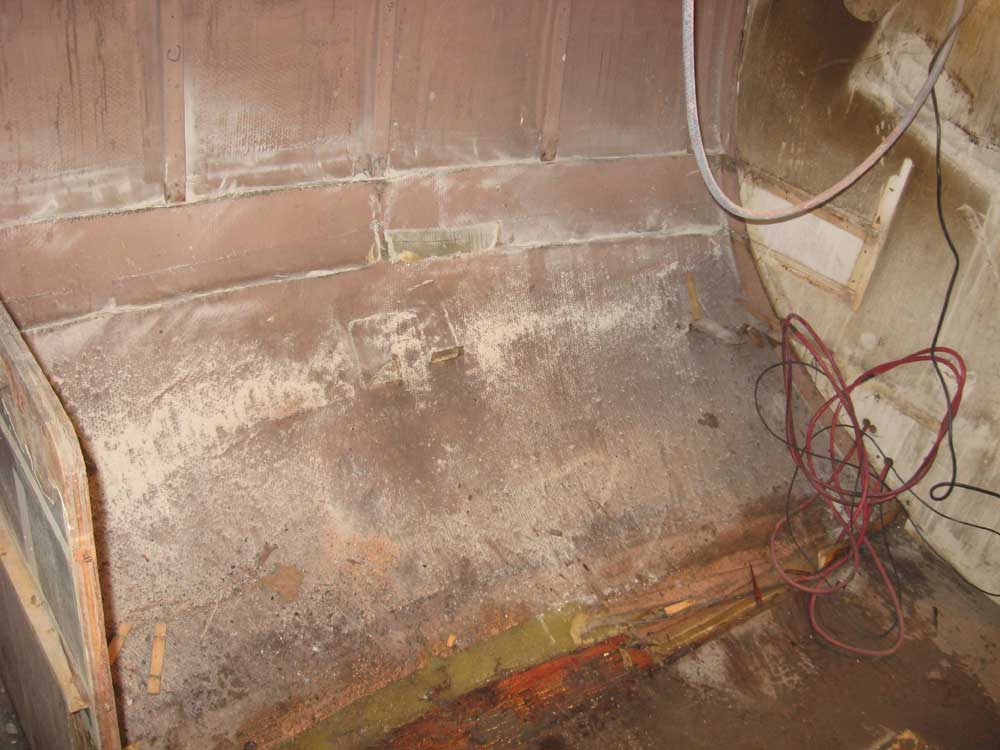
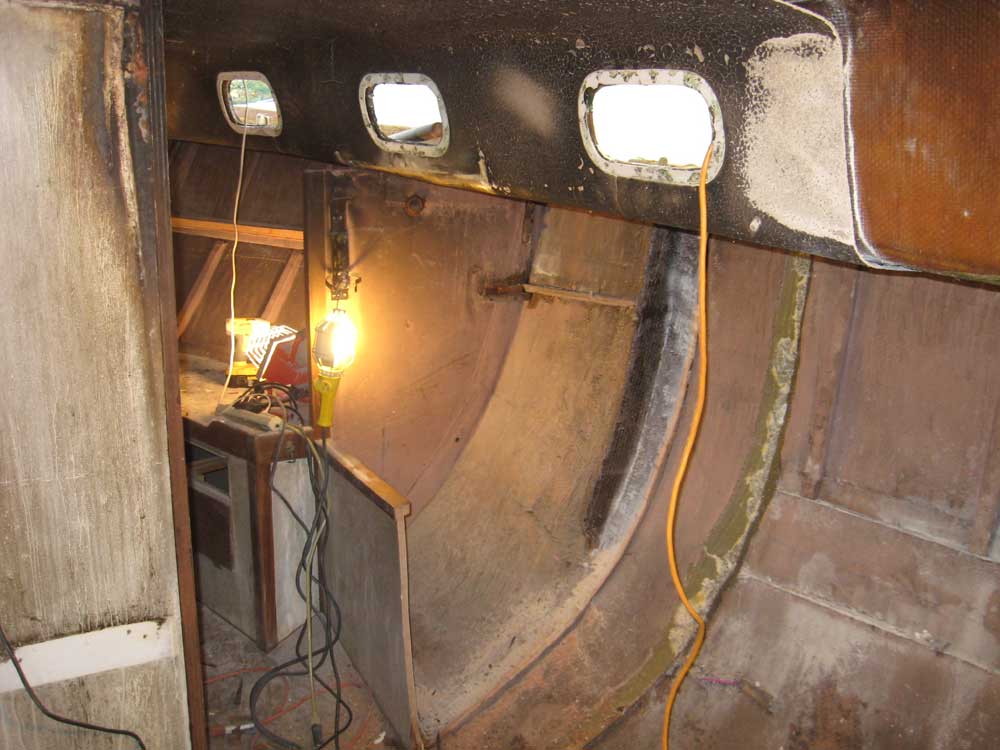
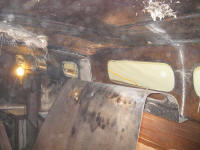
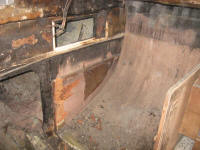
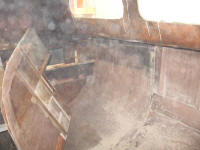
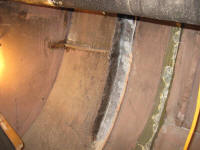
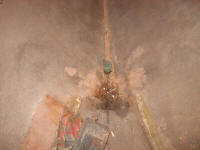
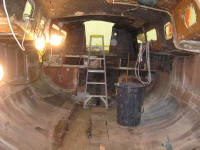
The badly-burned overhead liner was bugging me, as
every time I walked through the interior the spidery,
dangling threads of fiberglass mat would brush my head in an
irritating manner. So I decided that at least the aft
section of the overhead liner had to be the next thing to go
before I continued removing the other interior components.
I used an angle grinder equipped with a metal cutoff wheel
to quickly cut the liner into manageable pieces, and pulled
it down. It came away easily, revealing a
soot-blackened mess of ugly liner adhesive, melted wiring,
and the expected raw glasswork. In four sections, I
removed the entire liner as far forward as the doghouse
bump, taking care of the nastiest portion. The "snow"
in the air in these photos is airborne dust reflected by the
camera flash. |


 |
After opening the large shop door to evacuate dust
from the liner cutting, and to dispose of the pieces and
parts I'd removed so far, I continued work on the galley,
and removed the countertop and cabinetry on the port side,
along with some of the wooden trim on the pilot berths and
settees. This all came easily. In the midst of
this, my friend John arrived to help with the demo--he'd
been as or more excited about this process than I during the
past several hears, and had enthusiastically volunteered to
help out. |
 |
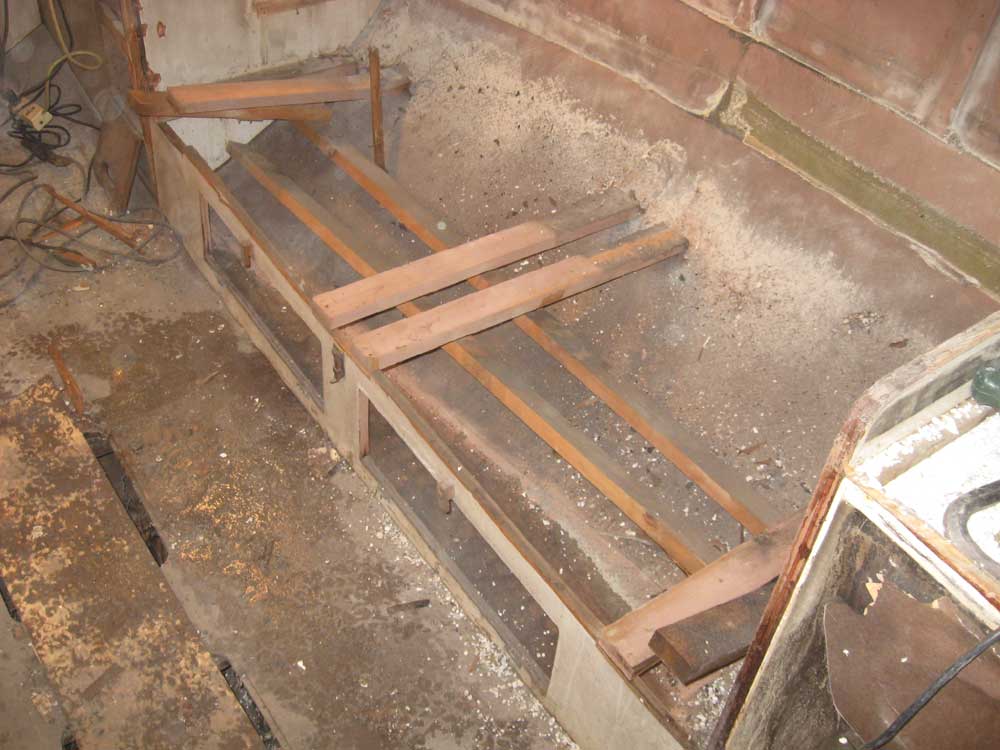
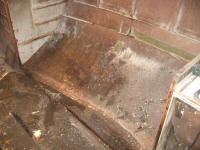
I moved on to continue removing the settees and
pilot berths while John cleaned up more of the debris on
deck and unfastened the remaining ceiling slats along the
hull in the main cabin. To continue the settee
removal, I had to buzz some more tabbing where the plywood
was secured to the hull, after which the assemblies came
apart with relative ease. I completed first the
starboard, then the port sides; water had accumulated in the
space beneath the settees, and ran out once I released the
tabbing from the hull with a chisel; the secondary polyester
resin bonds securing the tabbing and interior components
were as tenuous as one would expect, and once a section was
started, it was typically possible to rip the remainder away
by hand, or with minimal chisel intervention. |


 |
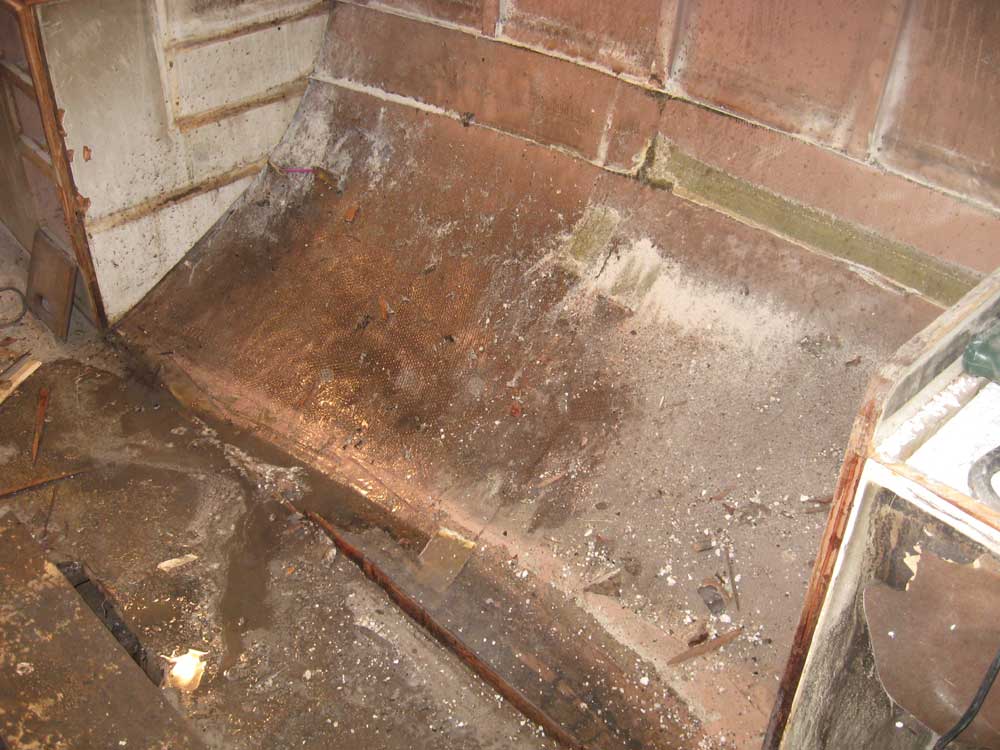
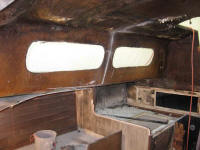
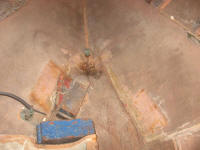
With the settees and pilot berths out of the way, I
cut the tabbing on the port galley bulkhead and removed it.
The bulkhead was 1" fir plywood in very good condition--as
were all the remaining bulkheads. One simply cannot
find fir plywood of this quality today. If I'd wanted
to keep the original layout of the interior, there would
have been no need to remove these bulkheads. But I
planned on a clean slate for the project, so out they came. |
 |
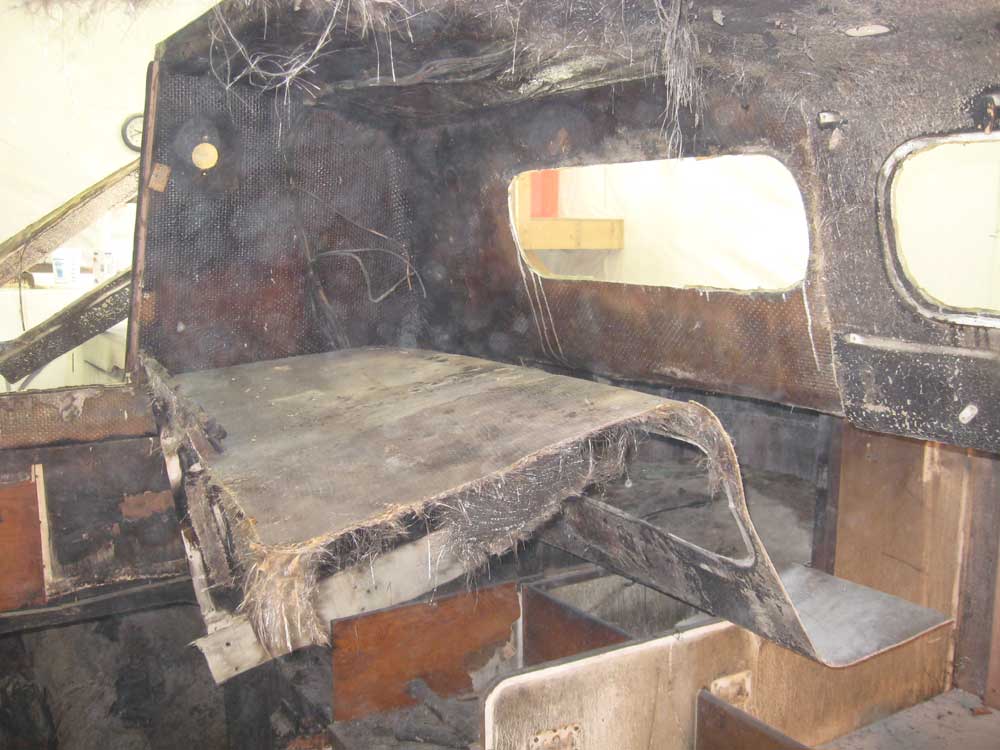
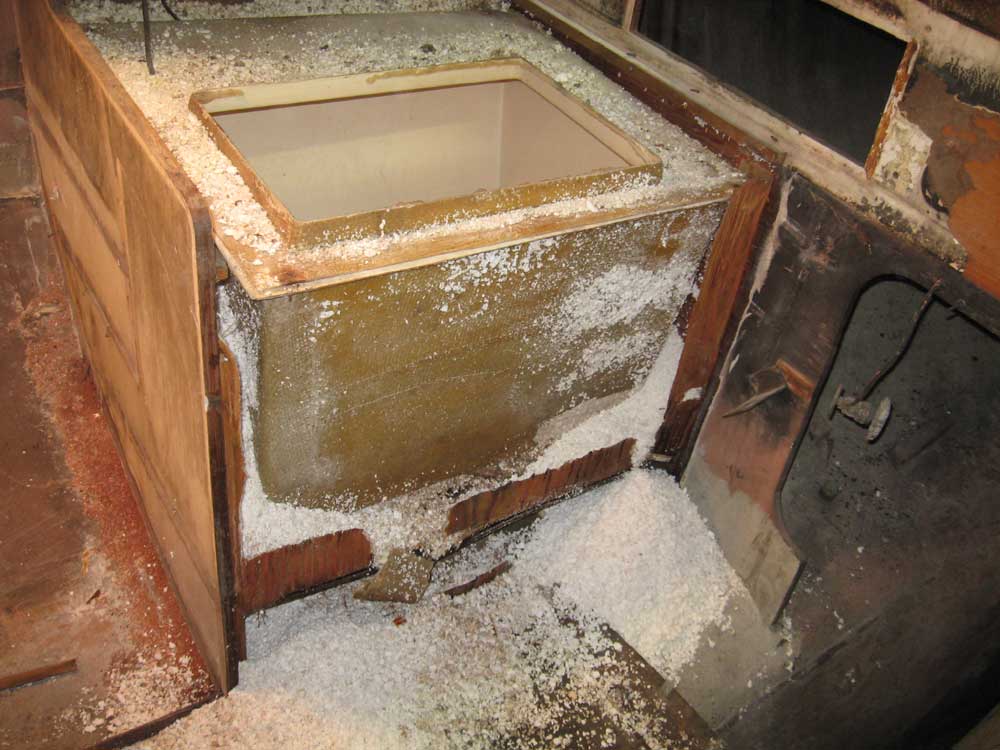
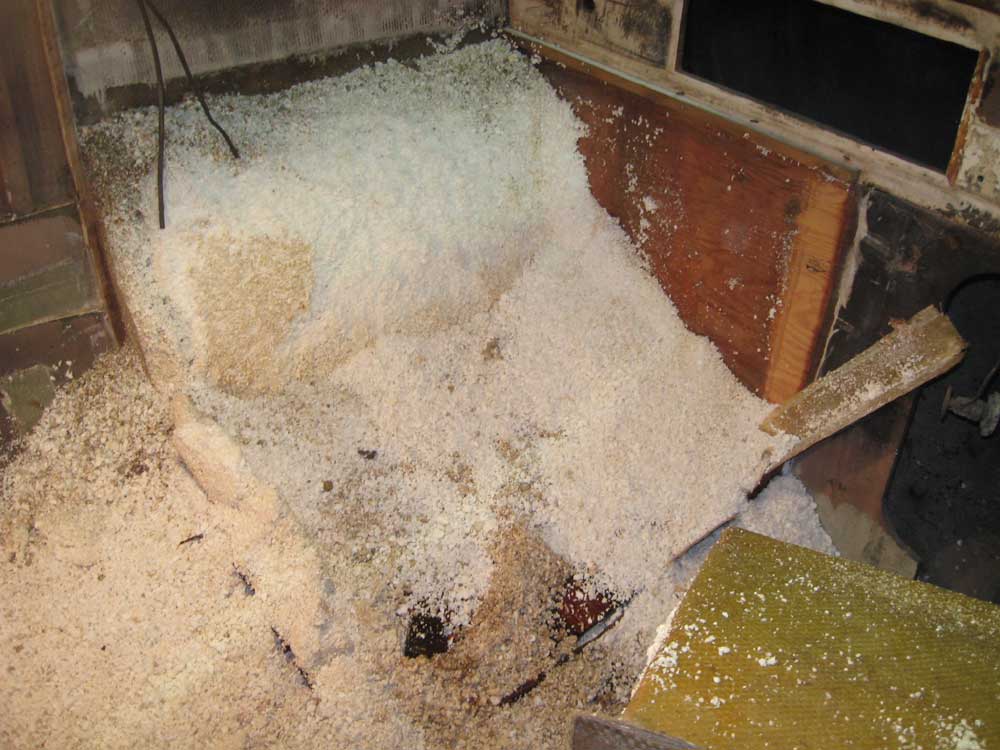
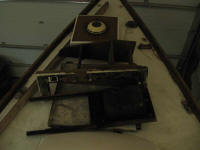
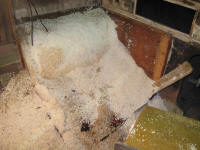
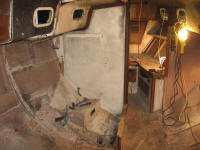
Then, I moved on to one of the more humorous parts
of the day: removing the icebox. It was funny to
start to pry the plywood away from the molded tub unit only
to have large volumes of popcorn-sized bits of styrofoam
pour out in steady streams, burying the cabin sole in a foot
of the material. The entire molded fiberglass liner
tub was surrounded by this loose stuff, which showed no
signs of ever having been a homogenous mass. I
imagined that one probably could have literally watched a
block of ice melt before one's very eyes with the poor
quality of the insulation. |
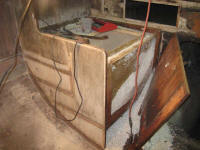
 |
I removed the front (inboard) panel and tried prying
the liner tub loose, but the bottom supporting panel was
rotted and all I did was break that when I used a prybar.
Clearly, I had to remove the starboard galley
bulkhead--which formed the forward end of the icebox
unit--in order to remove the tub. So I cut the tabbing
on the forward side, after which it was quite easy to rip
the bulkhead free, releasing an avalanche of loose foam. |
 |
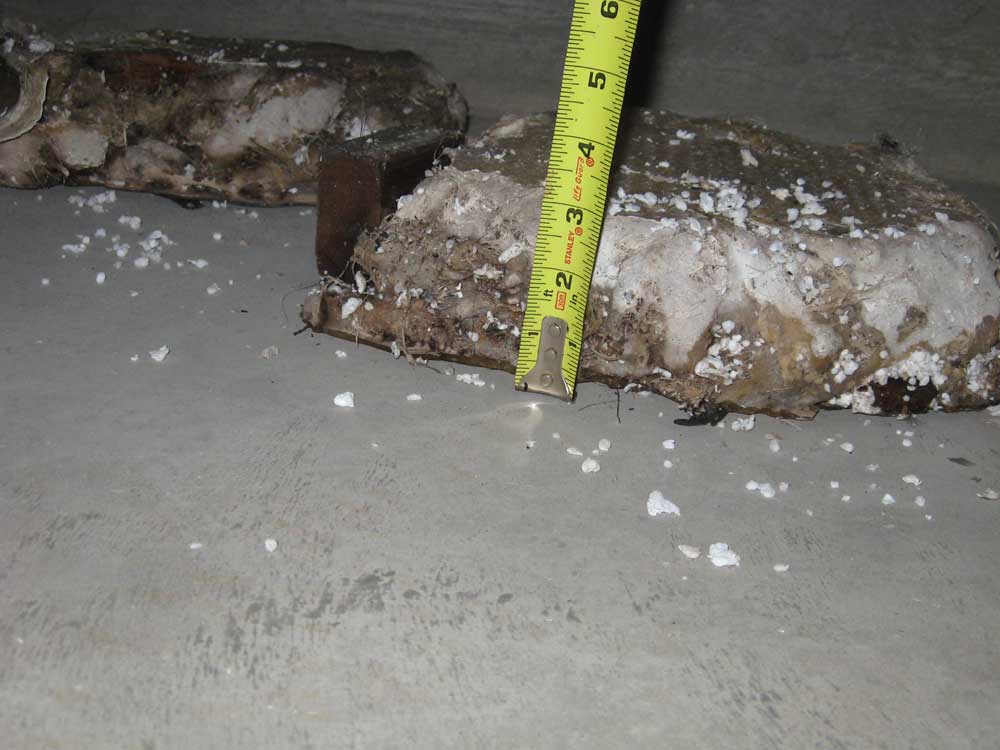
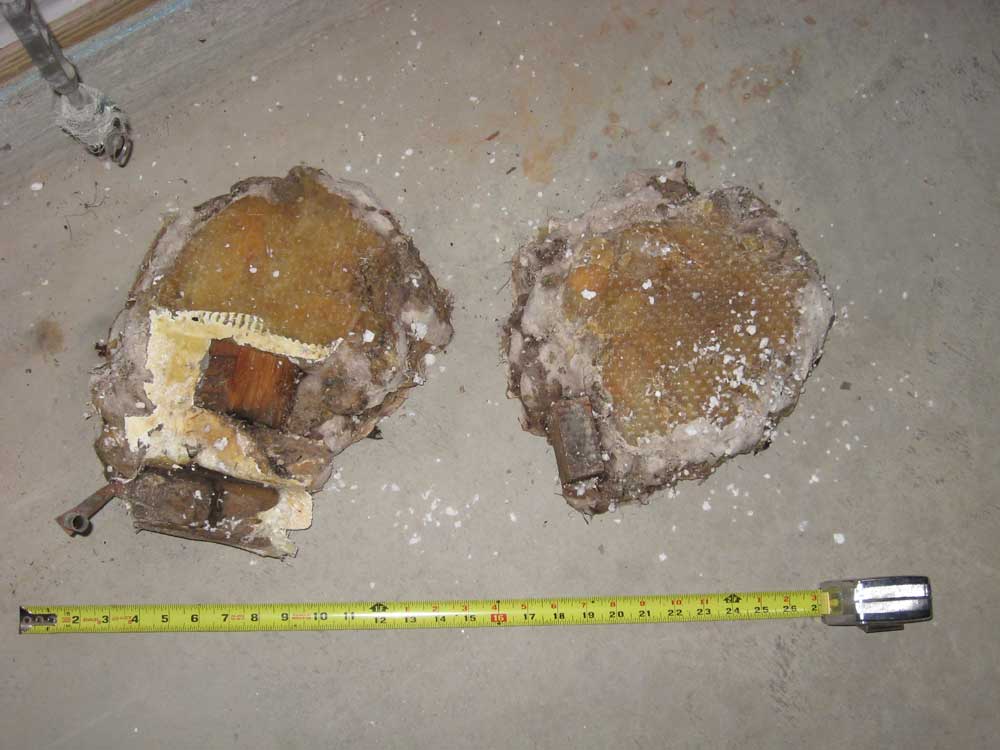
With the bulkhead gone, it was easy to rock and rip
free the huge icebox tub, which turned out to be secured to
the rotted platform beneath with two massive blobs of resin
mixed with what looked like a week's worth of shop floor
sweepings or something. These were amusing, and I felt
I needed to save them for my personal museum of amusing boat
construction parts. |
 |
I was surprised and pleased to find that the molded
tub could pass through the companionway in one piece; I was
concerned I'd have to saw it in two, but it just fit.
With this huge assembly out of the way, I filled three
full-size trash cans with the styrofoam bits, though a lot
of them found their way into the bilge.
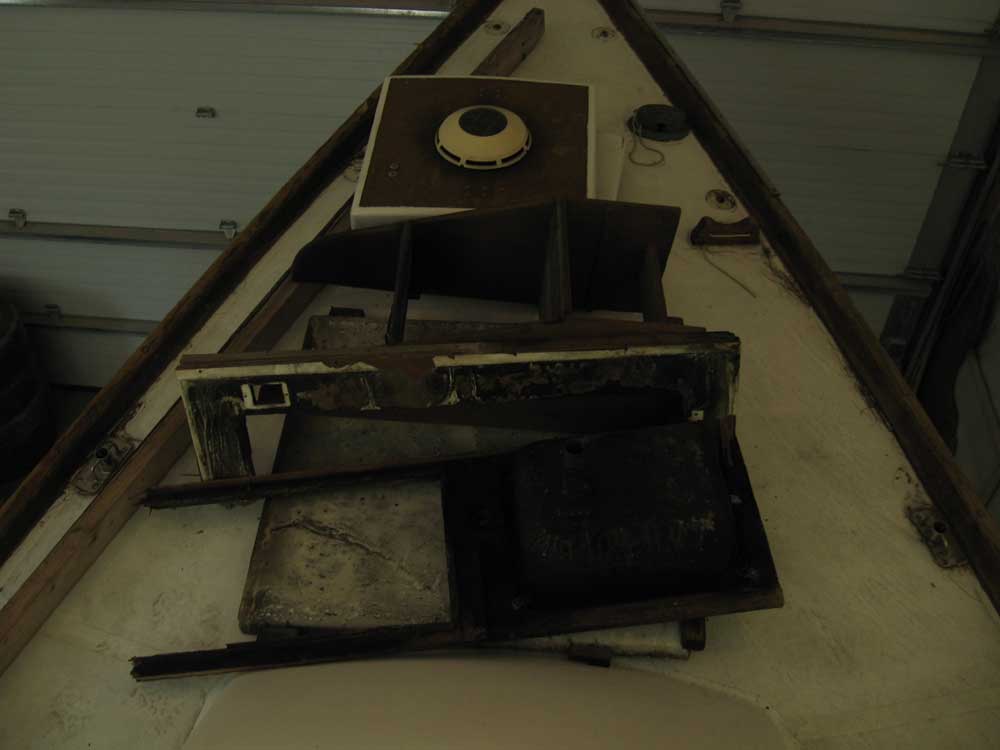
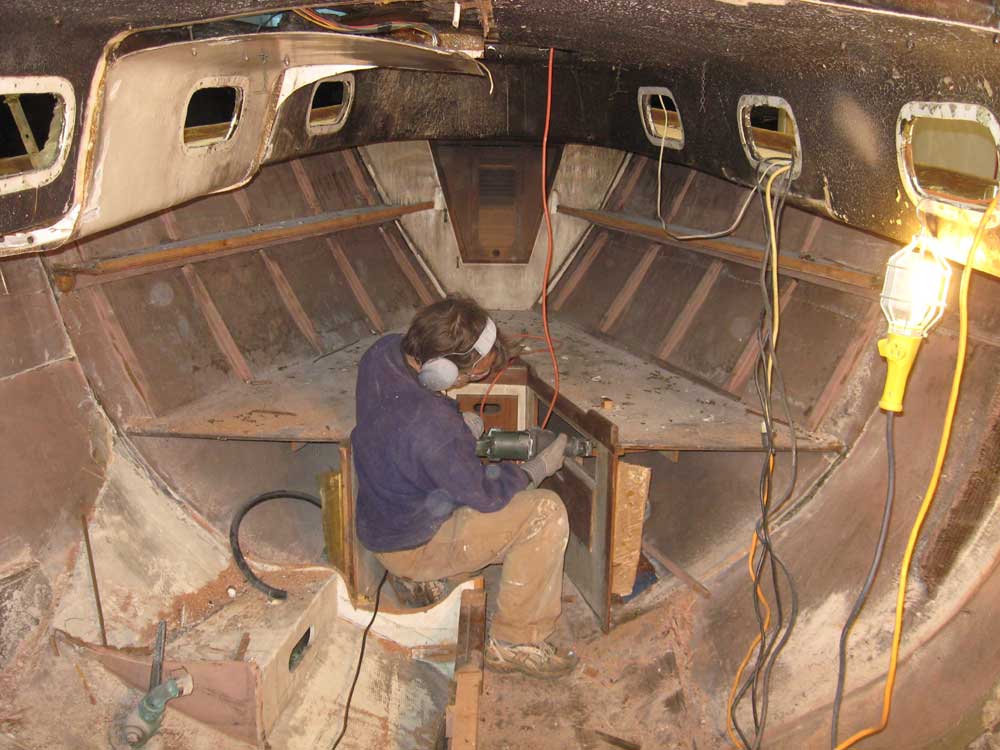
Continuing
forward, John worked up in the v-berth removing ceiling
strips and other small pieces while I attacked the little
drawer unit and hanging locker on the starboard side
opposite the head. I found as the demolition went on
that there was a strange inverse relationship between the
structural importance of a certain piece and how securely it
was attached to the hull and adjacent interior structures:
the less important the structure was to the strength of the
boat or rig, the more securely fastened it seemed to be.
I worked harder to remove foolish shelves and non-structural
panels than I did to pry away structural bulkheads. |
 |
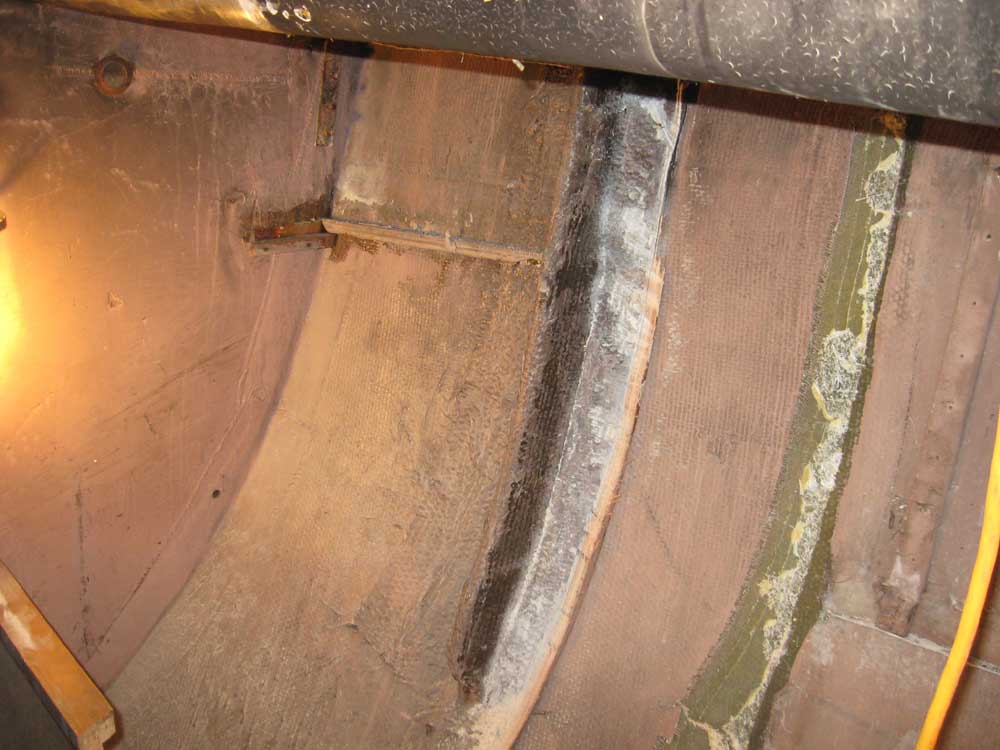
I was bemused to note the lackadaisical structures
to which the mainmast chainplates were secured: the
aft lowers on each side were secured through a thick teak
spacer block to the bulkheads on each side, which blocks
were deteriorated from moisture--yes, even though they were
teak. The stainless steel bolts were sound enough, but
the overall installation was certainly not
confidence-inspiring.
Similarly, the main support
knees for the cap shrouds--that is, the main support for the
rig--were an abomination of cringeworthy craftsmanship and
reflected a minimalist attitude towards strength.
Replete with ragged and sharp overhanging edges of
dashed-together woven roving tabbing, these knees were
hideous, though I suppose they certainly worked well enough
for 45 years. But apparently pride in workmanship was
not a salient quality for an Allied fiberglass installer
back in the day. |
 |
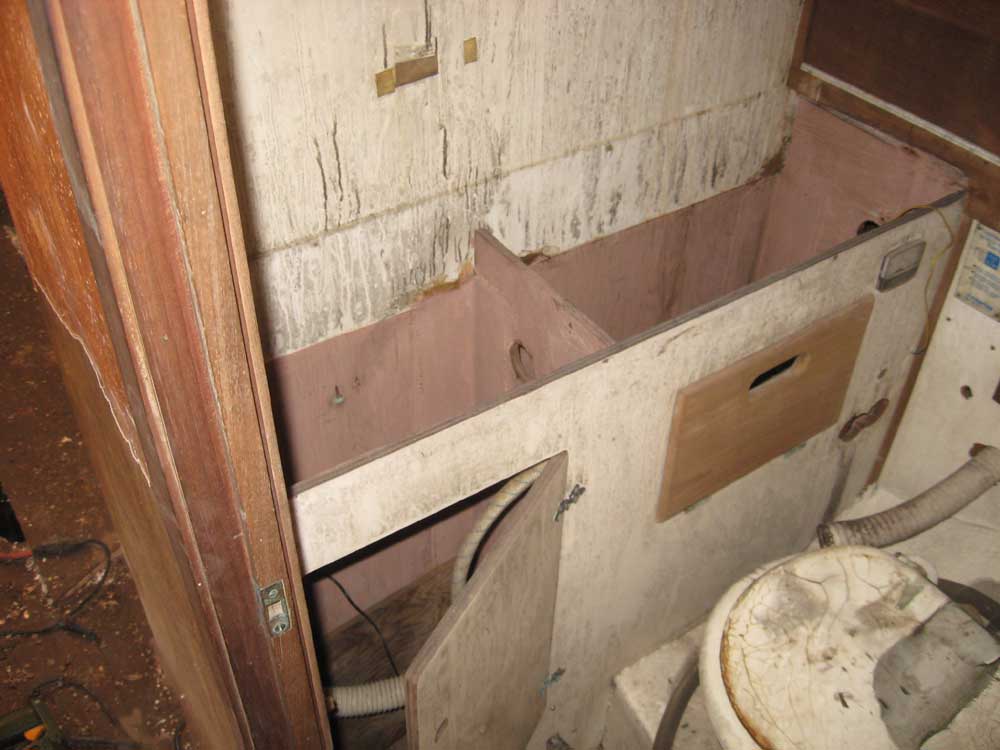
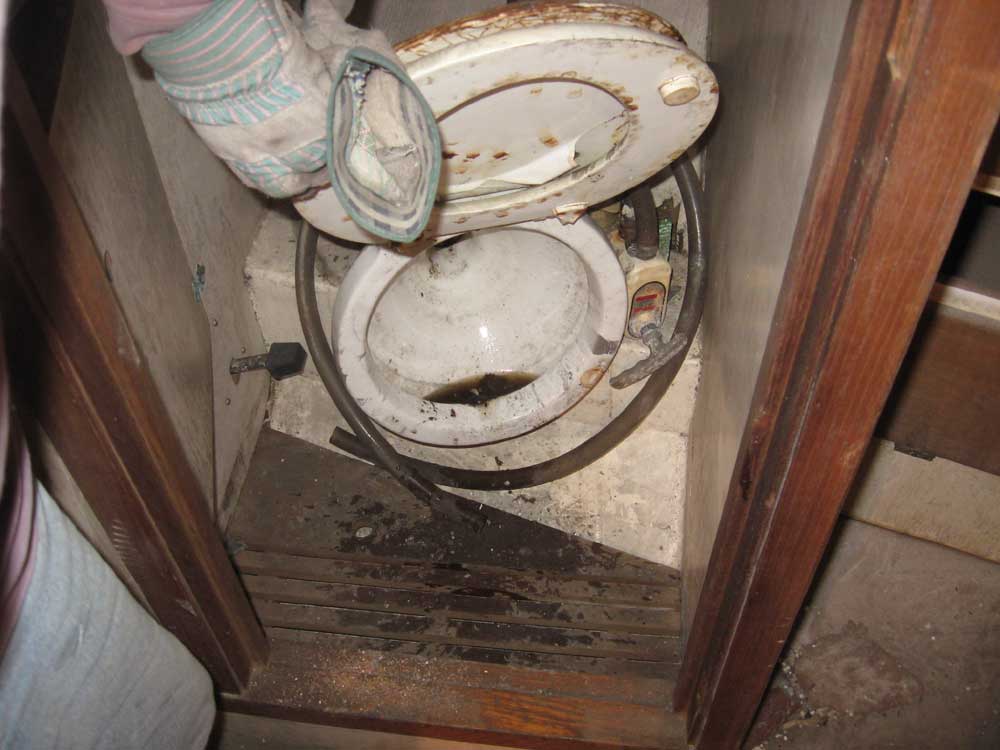
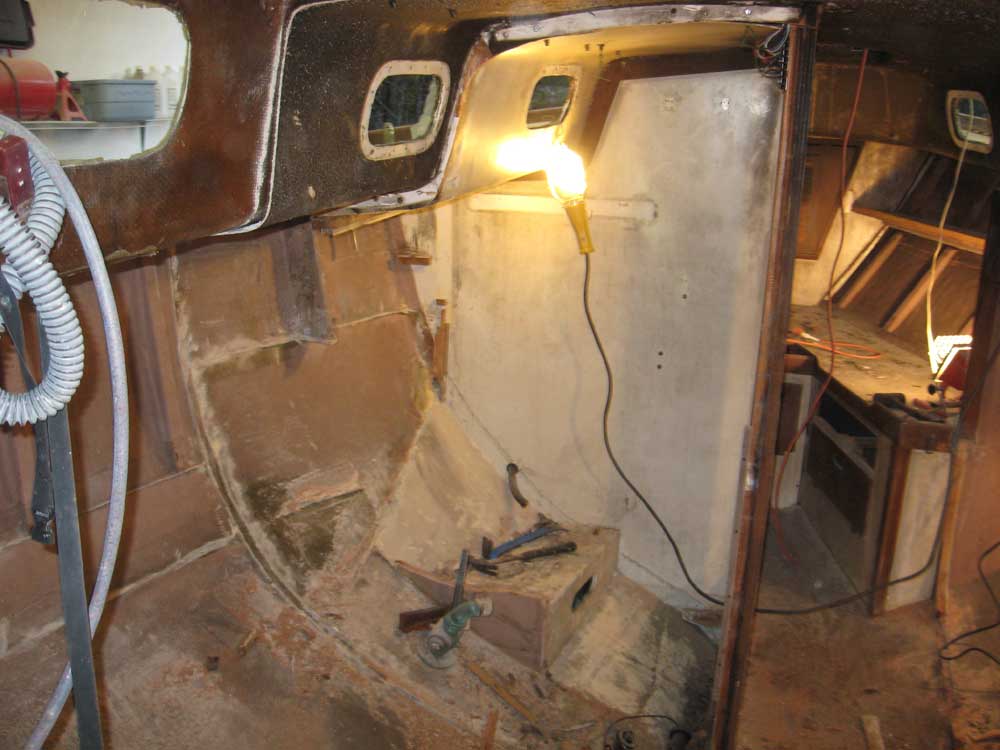
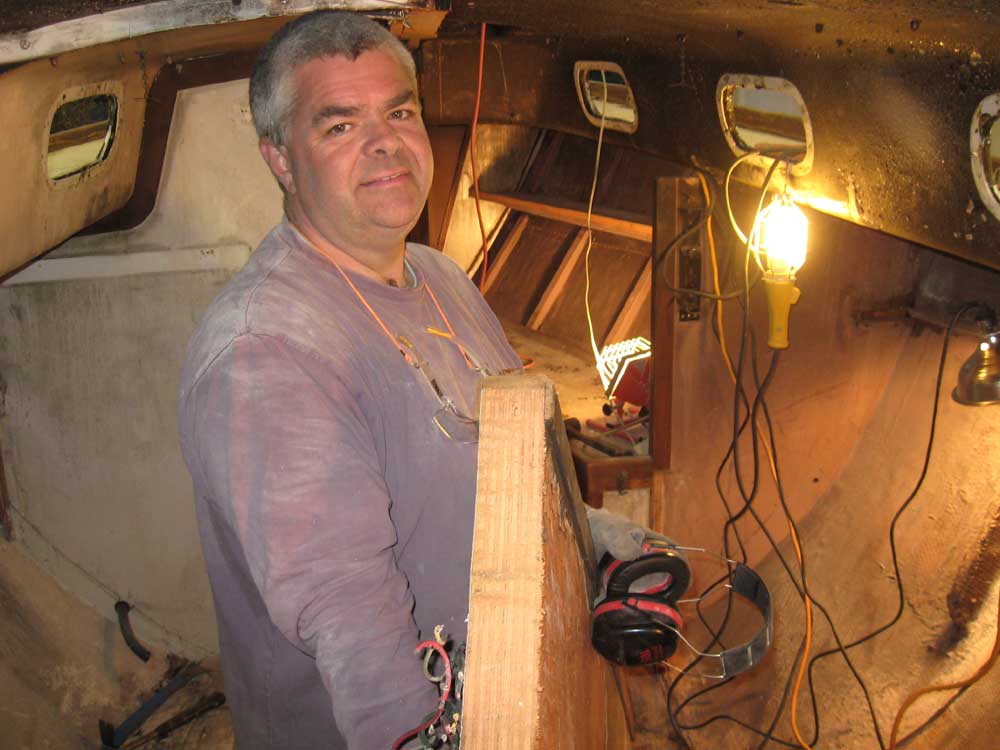
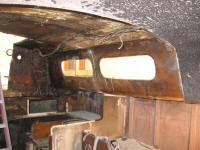
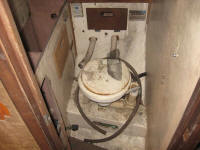
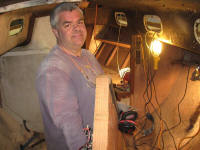
Next, it was time to attack the head. John was
very anxious to see this area cleared out; by now it was
about 1700, and I was growing weary from the day's efforts,
but John was an enthusiastic motivating force that could not
be denied, so I ripped the old toilet out, releasing a small
amount of questionable material into the bilge. |

 |
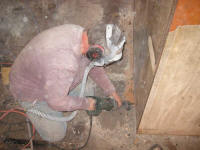
Then, I squeezed myself into the ridiculous space
(people actually used this space?) and, with effort, tore
out the various cabinets, which in keeping with the Allied
Inverse Structure Theory were extremely well tabbed to every
available adjacent component and fought every attempt at
removal and proper access thereunto. Eventually, I
managed to remove enough clutter so that I could get in with
my angle grinder and cut at least most of the tabbing
securing the huge main bulkhead to the hull; we couldn't
tell how the bulkhead was secured to the underside of the
deck.
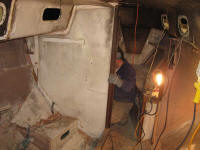
After cutting the tabbing on the head side, I
moved out into the saloon and repeated the process on that
side of the bulkhead, and also used a reciprocating saw to
cut through areas where I couldn't get the grinder.
Meanwhile, John unfastened a piece of aluminum angle that
was helping to secure the corner of the transverse bulkhead
to the longitudinal bulkhead that formed the inner wall of
the head, as well as the main support for the mast step
above. |
 |
We soon discovered a need to cut the bulkhead just
below deck level, since it was still secured there, so I
used the saw to make that cut, after which we were able to
pry the bulkhead free by making one vertical cut to saw it
into two pieces. Triumph! John was very excited
and proud of the success at this bulkhead's removal. |
 |
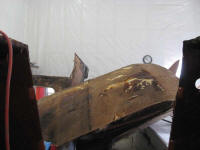
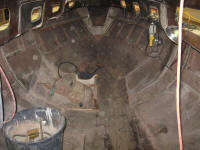
The next obstacle to a clear, empty boat was the
massive, 2" thick plywood longitudinal bulkhead beneath the
mast step. The tabbing was for the moment effectively
inaccessible in the depths of the bilge, so instead we just
cut the plywood at door sill height, and at the top of the
doorway. |
 |
Next: the final bulkheads, at the end of the
V-berth, and the berth structure itself. With John's
continuing enthusiasm for an empty boat as a motivating
force, I passed the Sawz-All torch to him and let him make
the saw cuts required to remove these pieces, which he did
with alacrity, and before long the boat was empty (for all
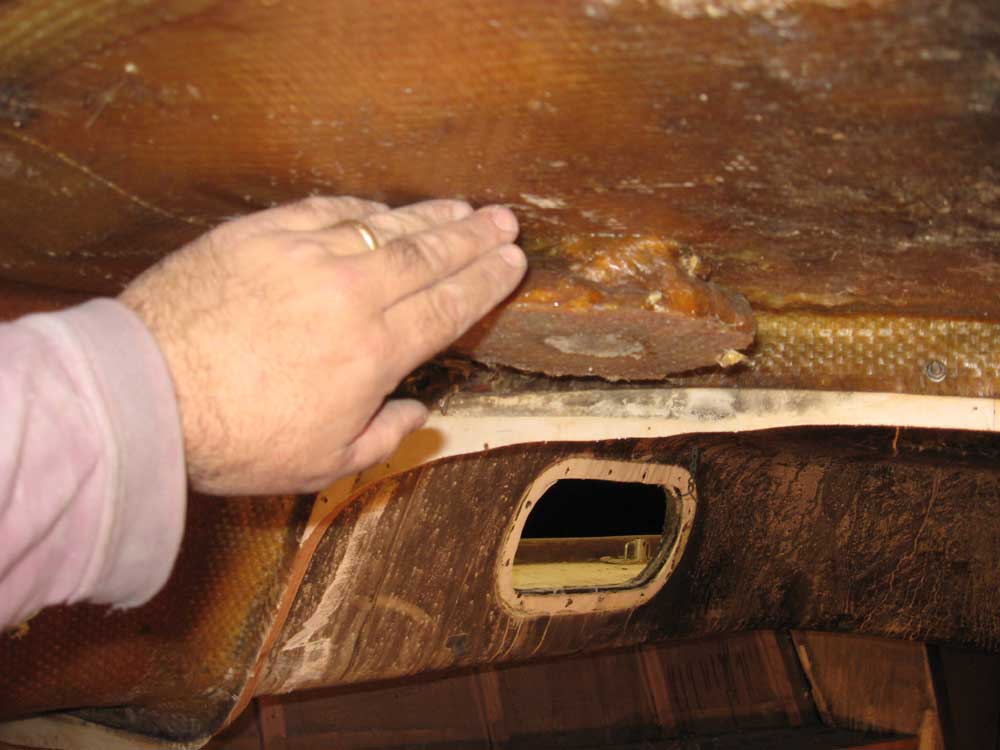
intents and purposes). We found two cast iron trimming
weights, each about 50 pounds, loosely stowed in the lockers
beneath the V-berth, one of which had been poised for who
knows how long periously close to (and uphill from) the
intake seacock for the head, one good wave away from
potential disaster; the shadow of the port weight's location
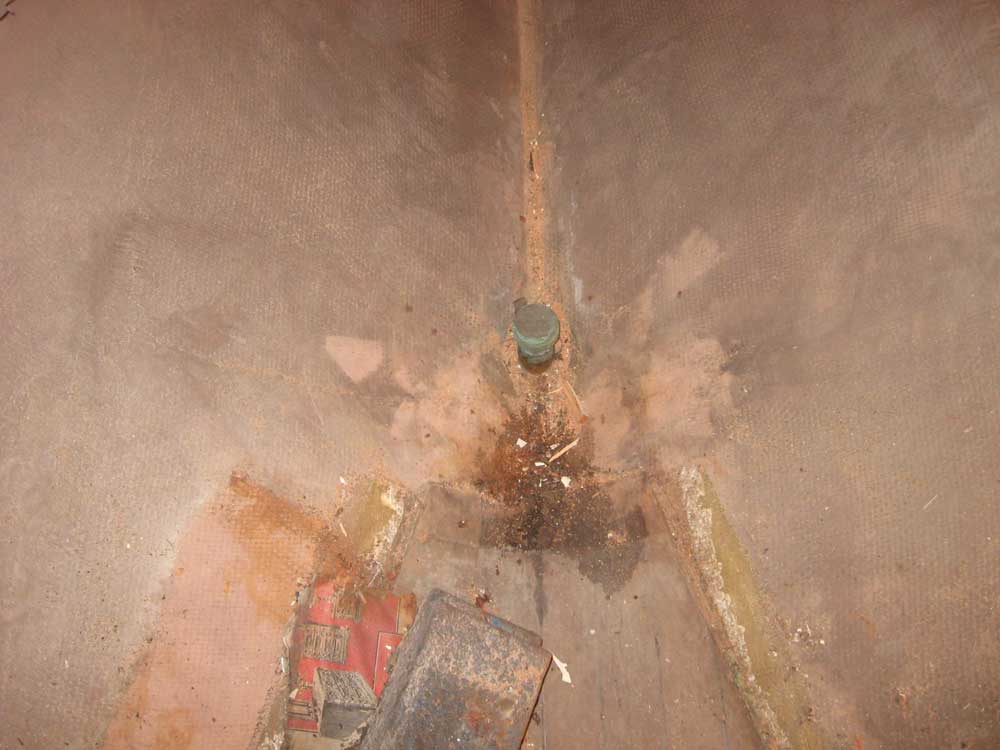
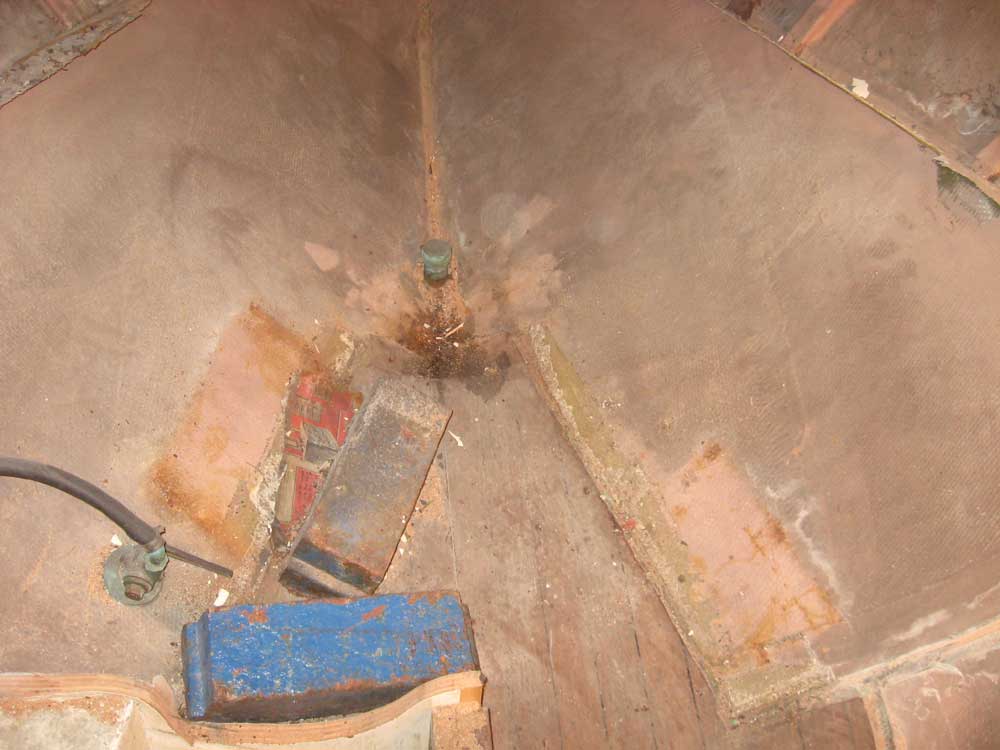
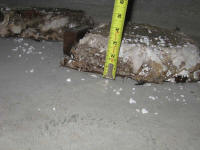
is visible on the hull. We also found a bronze pipe
with bronze cap protruding from the boat's centerline
somewhere beneath the old V-berth, of unknown origin and
unknown use. |

 |
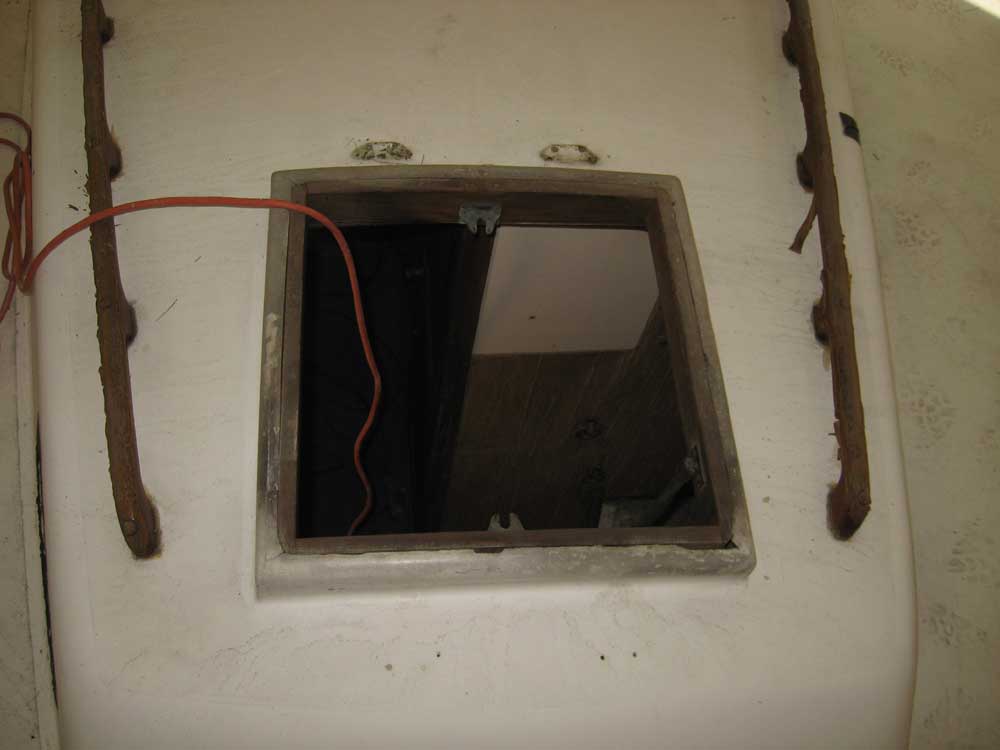
The small, separate piece of overhead liner that had
been in the head was becoming annoying quickly. All
that was still securing it was the through-bolts from the
handrail on deck, so while John was sawing out V-berth bits,
I went on deck and sawed through the fasteners securing the
handrail, after previously determining that they spun from
beneath when attempting to remove the nuts. I didn't
plan on reusing the old handrails anyway.
With the
bolts cut, I could remove them--and the piece of liner.
There was a huge space between the liner and the actual
cabin trunk--about 2" worth, which space had been bridged
with more blobs of resin and floor sweeping. One of
these blobs seemed to have ended up right beneath the
opening for the molded Dorade box above, causing me to
wonder how well that vent had worked over the years. |
 |
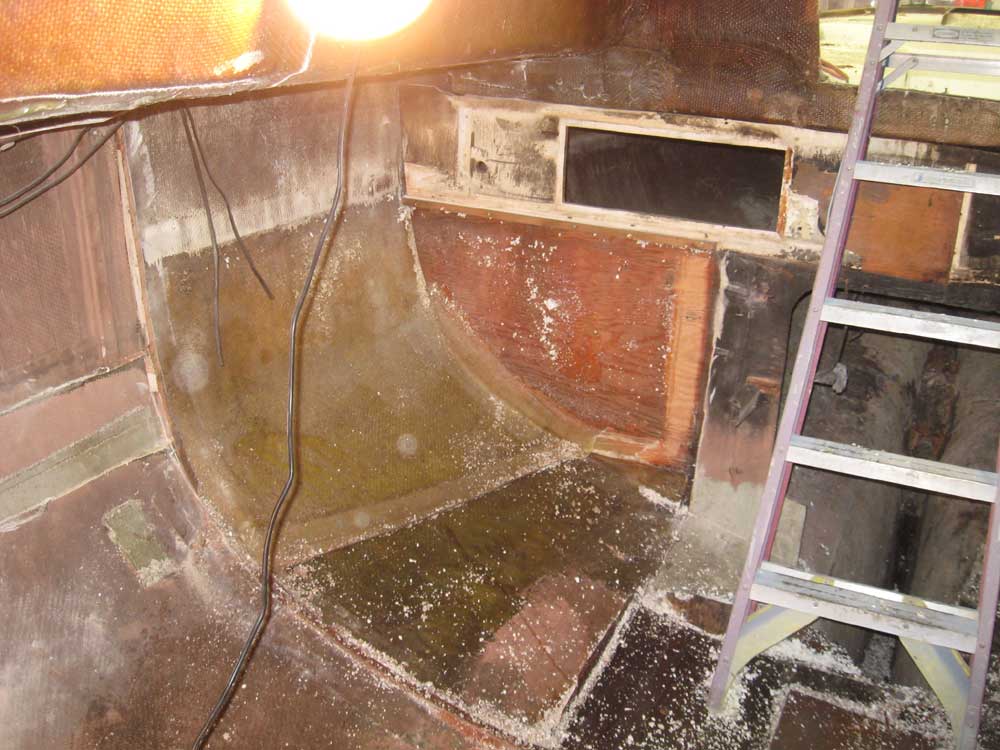
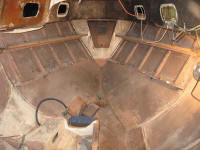
After a brief cleanup to collect the worst of the
demolition debris, it was time to sit back and marvel at the
cavernous, volumetric space. The boat looked better
already; ahead I saw challenge and limitless opportunity
(relatively speaking, of course). I'd finish up the
overhead liner removal and other bits and pieces in the near
future. |
 |
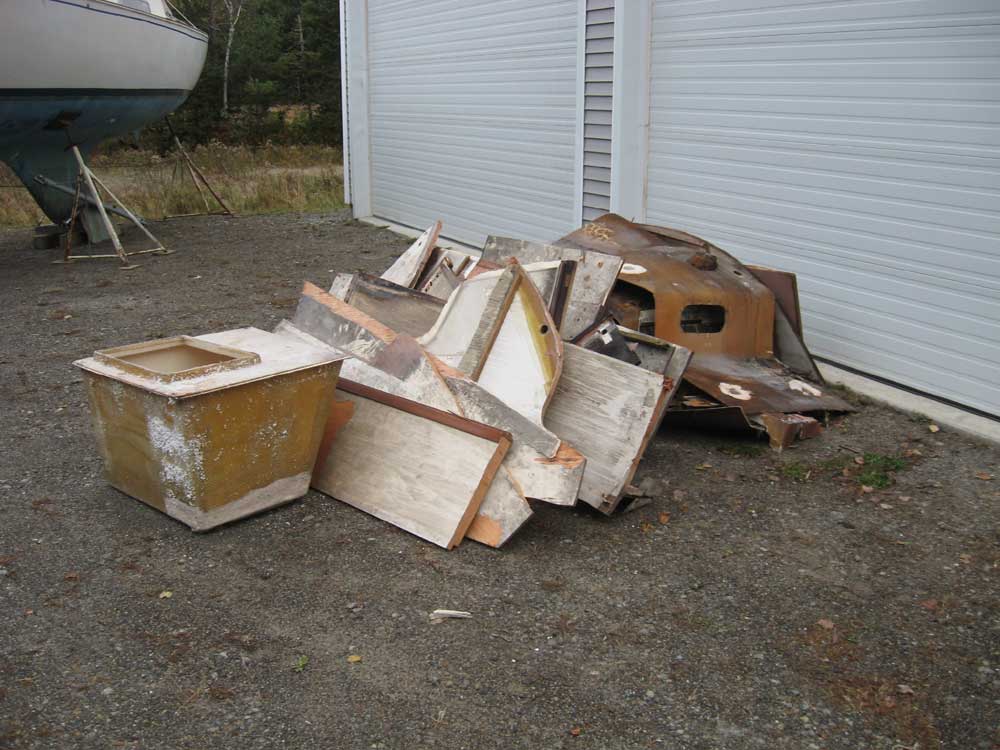
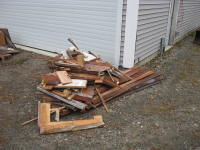
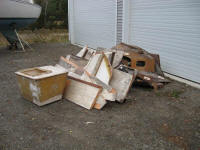
Hundreds of hours of installation labor at the
factory was reduced to a couple large debris piles outside
in a fun, satisfying day's work. |
 |
Total Time Today: 15 man-hours (9 hours Tim; 8
hours John) |
Previous |
Next |
|
|